It started out as a normal day. I had been hanging holiday decorations and had just taken down the autumn leaf quilt in my living room. I was planning to hang my winter quilt, but suddenly got distracted by a December-sized squirrel (yeah, they are big and chunky). I just had to have a holiday quilt. Something that blended with my living room and didn't call too much attention to itself. And it had to be simple and fast. Hmmm. What about candles? And I was off and running to my fabric drawers and bins. Everything else stopped. My mind raced through possibilities. Prints? Grunge? And then I had it. Advent candles. Simple design, colors that are in my living room year round, solids. And in just a few days, I had a new wall hanging.

Well, you know me. I can't stop there. So if you want to see how I made it and some close ups and how it looks in the room, keep reading.
I started by drawing a plan on graph paper. My plan was to make it the same width as the autumn quilt I had just taken down so I wouldn't have to rehang the Command hooks to hold it on the wall.

I labeled the order of piecing and listed the sizes of pieces. (Check marks were added as I sewed each part. I planned to paper foundation piece the flames and drew the patterns on separate pages, varying the way I did them to keep the flames from looking too much alike.


I had fabric scraps in all the colors I needed, but the background green was only 23 1/2 by 37 1/2 inches with a few ragged inches more at one end. I made a graph paper drawing of that fabric and carefully planned out how to cut all of the green pieces I needed except the parts for the foundation backgrounds of the flames. They all fit with some irregular leftovers for the flame blocks. After cutting out the main green parts, I realized that I was literally cutting it very close to get the rest of the pieces I needed. And you know how foundation piecing can eat up fabric. So I ended up making templates for each piece rough cutting a bit extra to each for seam allowance. Then I laid them all out on the green leftovers to see how they'd fit. So much for simple, huh? This game of fabric chicken really had me sweating it.

I pieced together three long strips of waste batting and found a garish piece of yellow-green (I think it's Kona Cactus) in my bins. I had bought it for a quilt a few years ago and then it didn't work. It is also the backing of a coleus quilt I hang in the summer, so it is getting good use anyway.
This fabric is about as close to sunlight we've seen in days! When I pieced the quilt I pressed every seam under the candles and flames to try to bring them out. Then I stipple quilted only in the background. The candles look a bit wrinkled here, but that's just the harsh lighting. I had thought of quilting with tan or off white but didn't care for either. It turned out that I had a good amount of variegated thread from my last quilt, and--I kid you not--the colors are pink, blue yellow and green. Perfect. The quilt still looks simple until you are right up close to the front.

(I forgot to sign while I was quilting, so I embroidered my initials and the date afterwards. I wish I had used two instead of three strands of thread.)
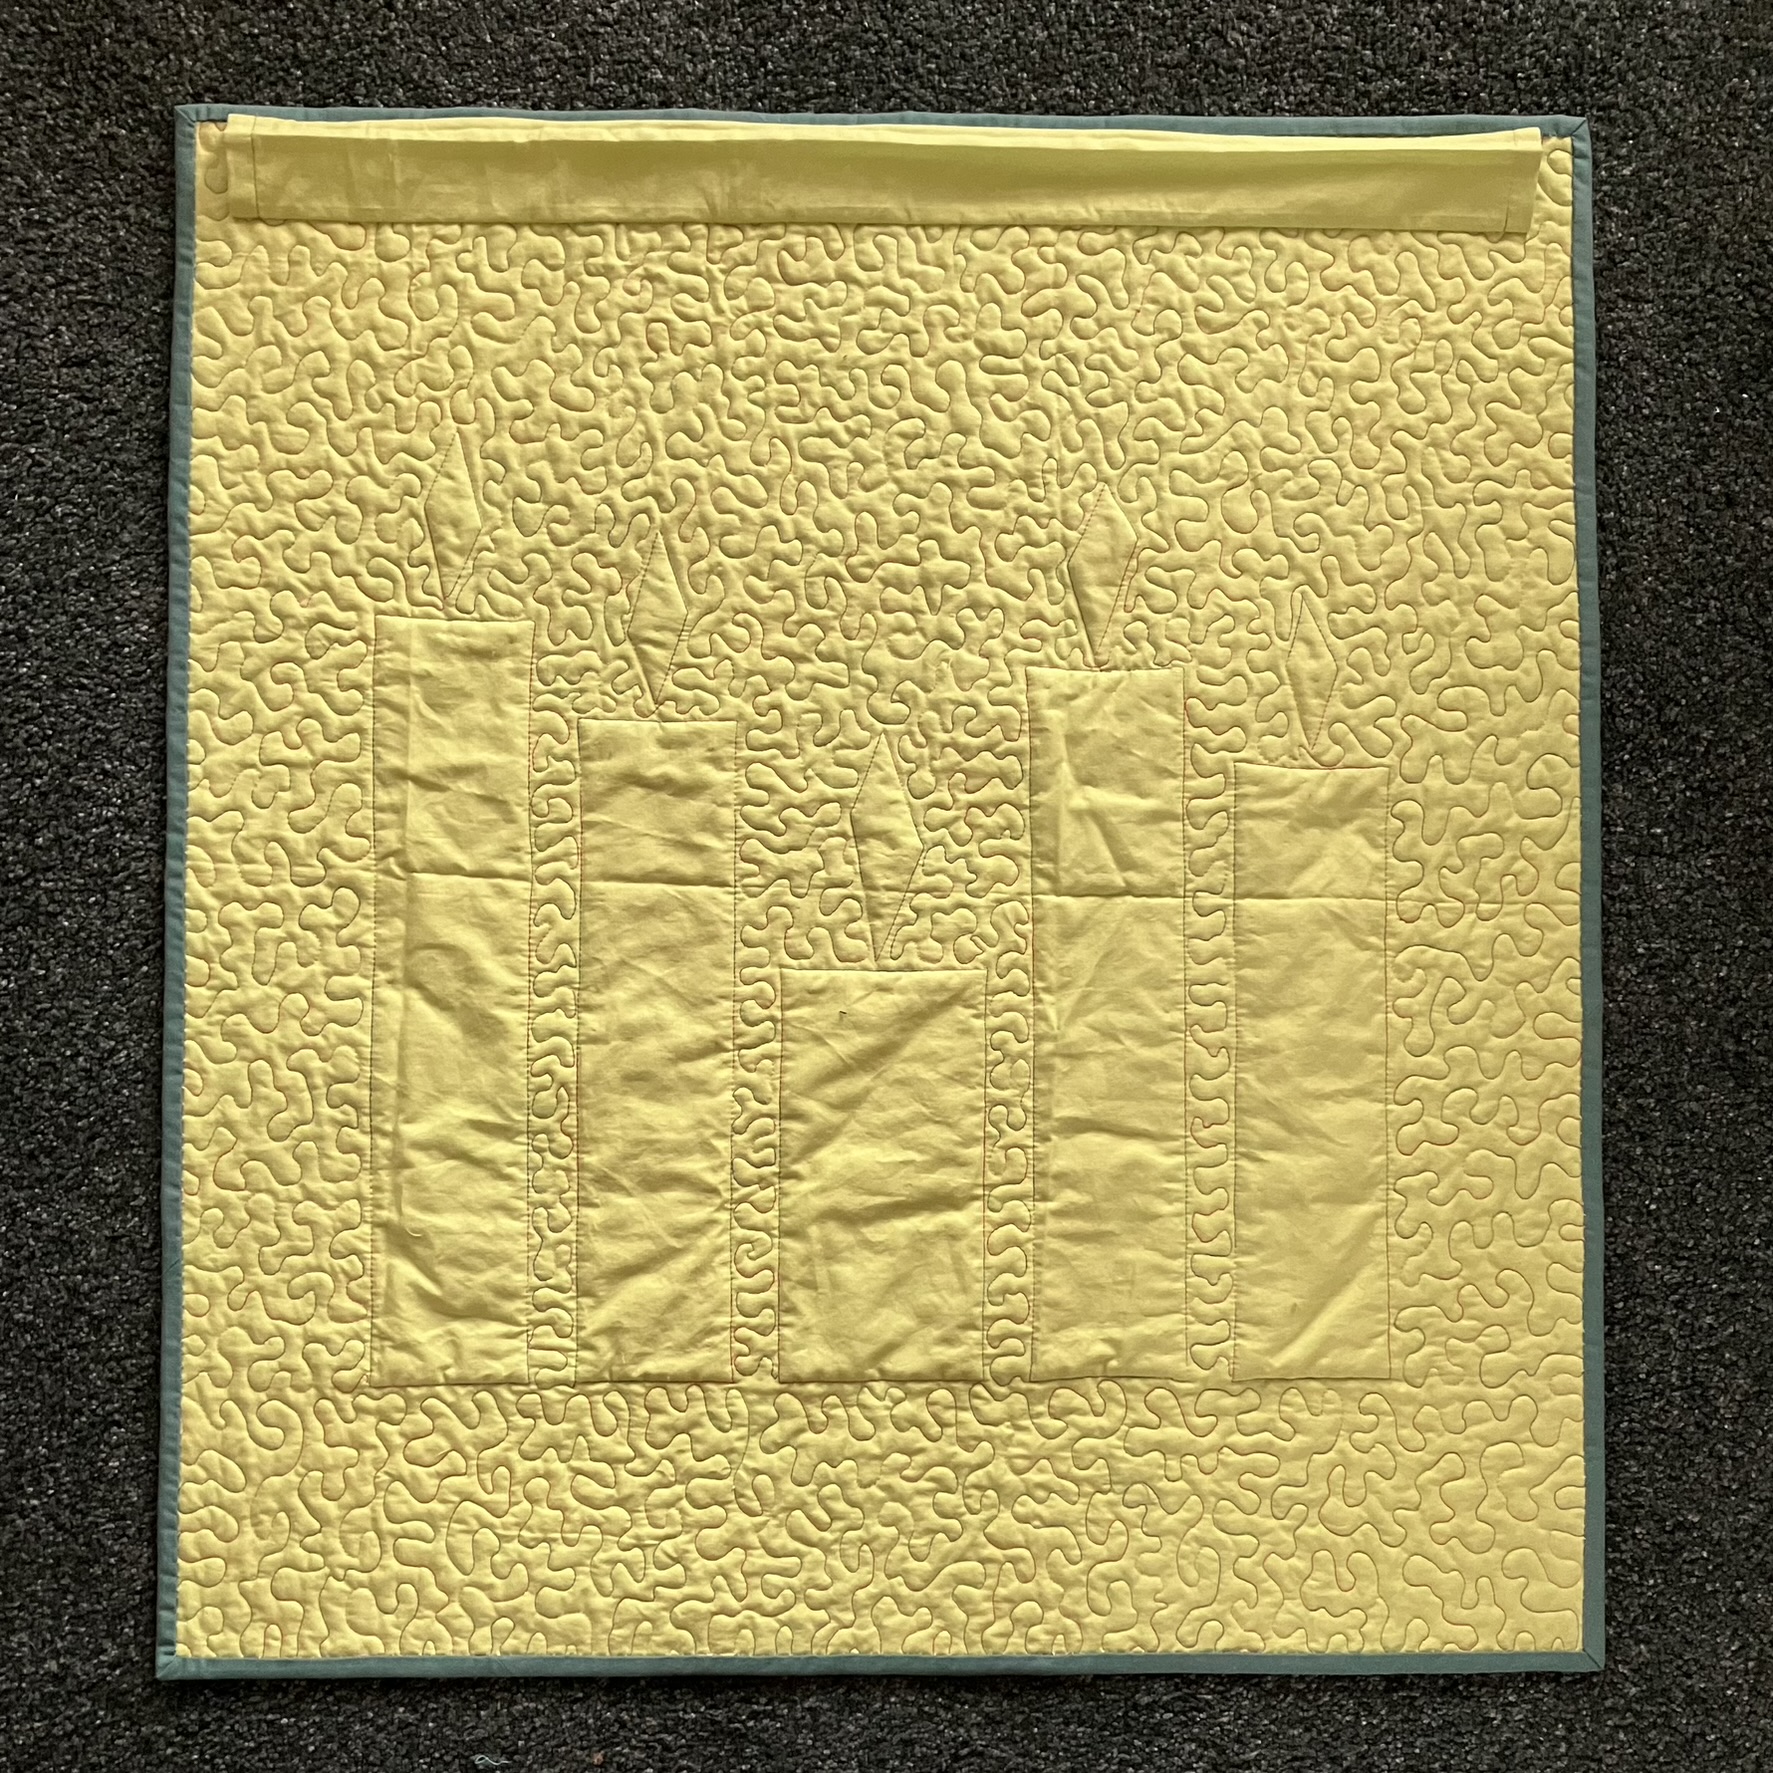
The back is a little more wild and festive.

I used a scrap of grayish green for the binding. I didn't want anything that stood out too much, and of course, didn't have any of the other green to work with.
Here's a close-up of a flame.

Here's how the quilt looks with the too-bright LED lamp nearby. At least you can see the texture here, but I rarely use that lamp. The light's much too strong to suit me.

I've waited more than a week for bright daylight in the living room to get a last photo, but I'm giving up. We have had 30 seconds of sunlight. No, I'm not kidding! So this is the best I could get, and I know there are weird shadows, but this is the quilt above my sewing table. Look how the candles echo the vases. You'd think I had planned this all out ahead of time instead of chasing a squirrel.

The Stats:
Pattern: My own
Size: 28 1/2 by 31 1/2 inches (I added 1/2 extra inch to the narrow side of the bottom strip) before quilting. 28 by 31 1/2 after quilting. Not washed.
Fabrics: Scraps, mostly Kona
Batting: Hobbs 80/20
Thread: Superior Masterpiece in Granite for piecing; Coats and Clark quilting cotton in Gumballs for quilting and machine part of binding; Superior Treasure in Antique for hand binding.
Machines: Singer Featherweight for piecing; Singer 115 Treadle for quilting and binding.
I'm linking this up with Cynthia at Quilting is more fun than Housework for Oh Scrap because this is leftovers all the way. And at the end of the month, with Sandra at mmmquilts for DrEAMi (Drop Everything and Make it) because squirrel!
I hope you are enjoying the holidays and that maybe you have a little sun now and then.
(Just a reminder: I'm not affiliated with any company, so when I mention products, services, or stores I'm just documenting what I used or liked.)
8 comments:
nice simple wall hanging!
What a great design and beautiful hanging. xx
That's a great project - and finished in good time! It's a perfect reminder of that Christmas is really all about.
I love that - the perfect squirrel project! You did make it a perfect fit for your living room, too. Beautiful!
What a fantastic squirrel! I loved following your process and I always make templates for paper-piecing now because I hate it when I screw up the angles and I hate the waste even if I don't! I always follow the freezer paper (that I don't always use, just use a glue stick to get it started). The shot with the vases is just so so good! I like the squirrels that visit you! Yay for a pretty quick, very satisfying quilt that can be there during your birthday month too methinks. ;-)
PS I know about the lack of sunlight!!!! Like totally all of 30 seconds (well maybe a touch more on one day but if it was 3 minutes total I'd be surprised. Did we get bounced over to Vancouver/Seattle end of the continent?! However. My cousin lives in Banff. No explanation needed of the stupendous beauty around her. But the stupefying cold there this morning: -41C which is -42F (yay for google) with a 'feels like' temp of -54C which is...are you ready? -65.2F. Nasty does not begin to describe it...and it's supposed to last most of the week. No wonder they break out in shorts when it's -18C (0F)
What a simply beautiful Christmas wall hanging!!! So much thought and planning. So wonderful. That green is beautiful for the background, and great job eeking out everything you needed! Now, I do have to ask about your sewing table though--where's your sewing machine?
I love when I see your projects that are original designs. You have a beautiful flair Janine. The simplicity of the Advent candles is beautiful. I love it and really I don't think it is so Christmas-y that you can't leave it up for a bit during the winter months. :-)
Post a Comment