Tuesday, May 31, 2016

Ruler Keeper

I bought some fabric last week. No, that's not true. I bought a lot of fabric. But I can't show it to you. Not yet. So instead, I whipped up a little project to complete my closet makeover. I took pictures as I went, not really knowing just how it would end up. Interesting: when I make quilts, I'm more of a planner, but these little projects are my kind of improv. I like how it turned out, so I'll show you how I did it. 

When I was cleaning out my closet, I decided to put up some hooks to hang my rulers on the wall. Most of the rulers had holes in them for hanging, but a couple didn't. I could have drilled holes in them, but that would have been too easy. (Or maybe not. I might have split them.) And I wouldn't have made this little ruler keeper, used up some stash and had something to show you. Here it is: 


And from the back:


Now, if you just want to see how it looks in the closet with the rulers, you can skip to the end. But here's how I made it. It's in three quilted layers, starting with the back layer.

Back layer
First I cut the backing: a little over 26 inches by a little over 8 inches wide.
Then the front: 26 by 8 inches, but I was working with limited fabric amounts, so I cut one piece 12 1/4 by 8 inches and one piece 14 1/4 by 8 inches and sewed them together. 


Middle layer
Backing: a little over 16 inches by a little 8 inches wide.
Front: 16 by 8 inches (but again, I was working with smaller pieces, so I cut two pieces 8 1/4 inches by 8 inches and sewed them together. 


Front layer
Backing: about 10 inches by 8 inches wide. 
Front: 10 by 8 inches.


I cut batting pieces the size of each backing piece then layered each layer and quilted them. 

I used my walking foot for the back layer to make lines about 3/8 inch apart. 


For the middle layer, I tried some FMQ that I hadn't tried before (leaves on stems and feathers) on the lower half. Don't laugh. It was pretty awful. I learned the value of practicing the design with pencil first and what happens when you don't do that. But it didn't matter because no one will see it! I did little stipples in the top half.


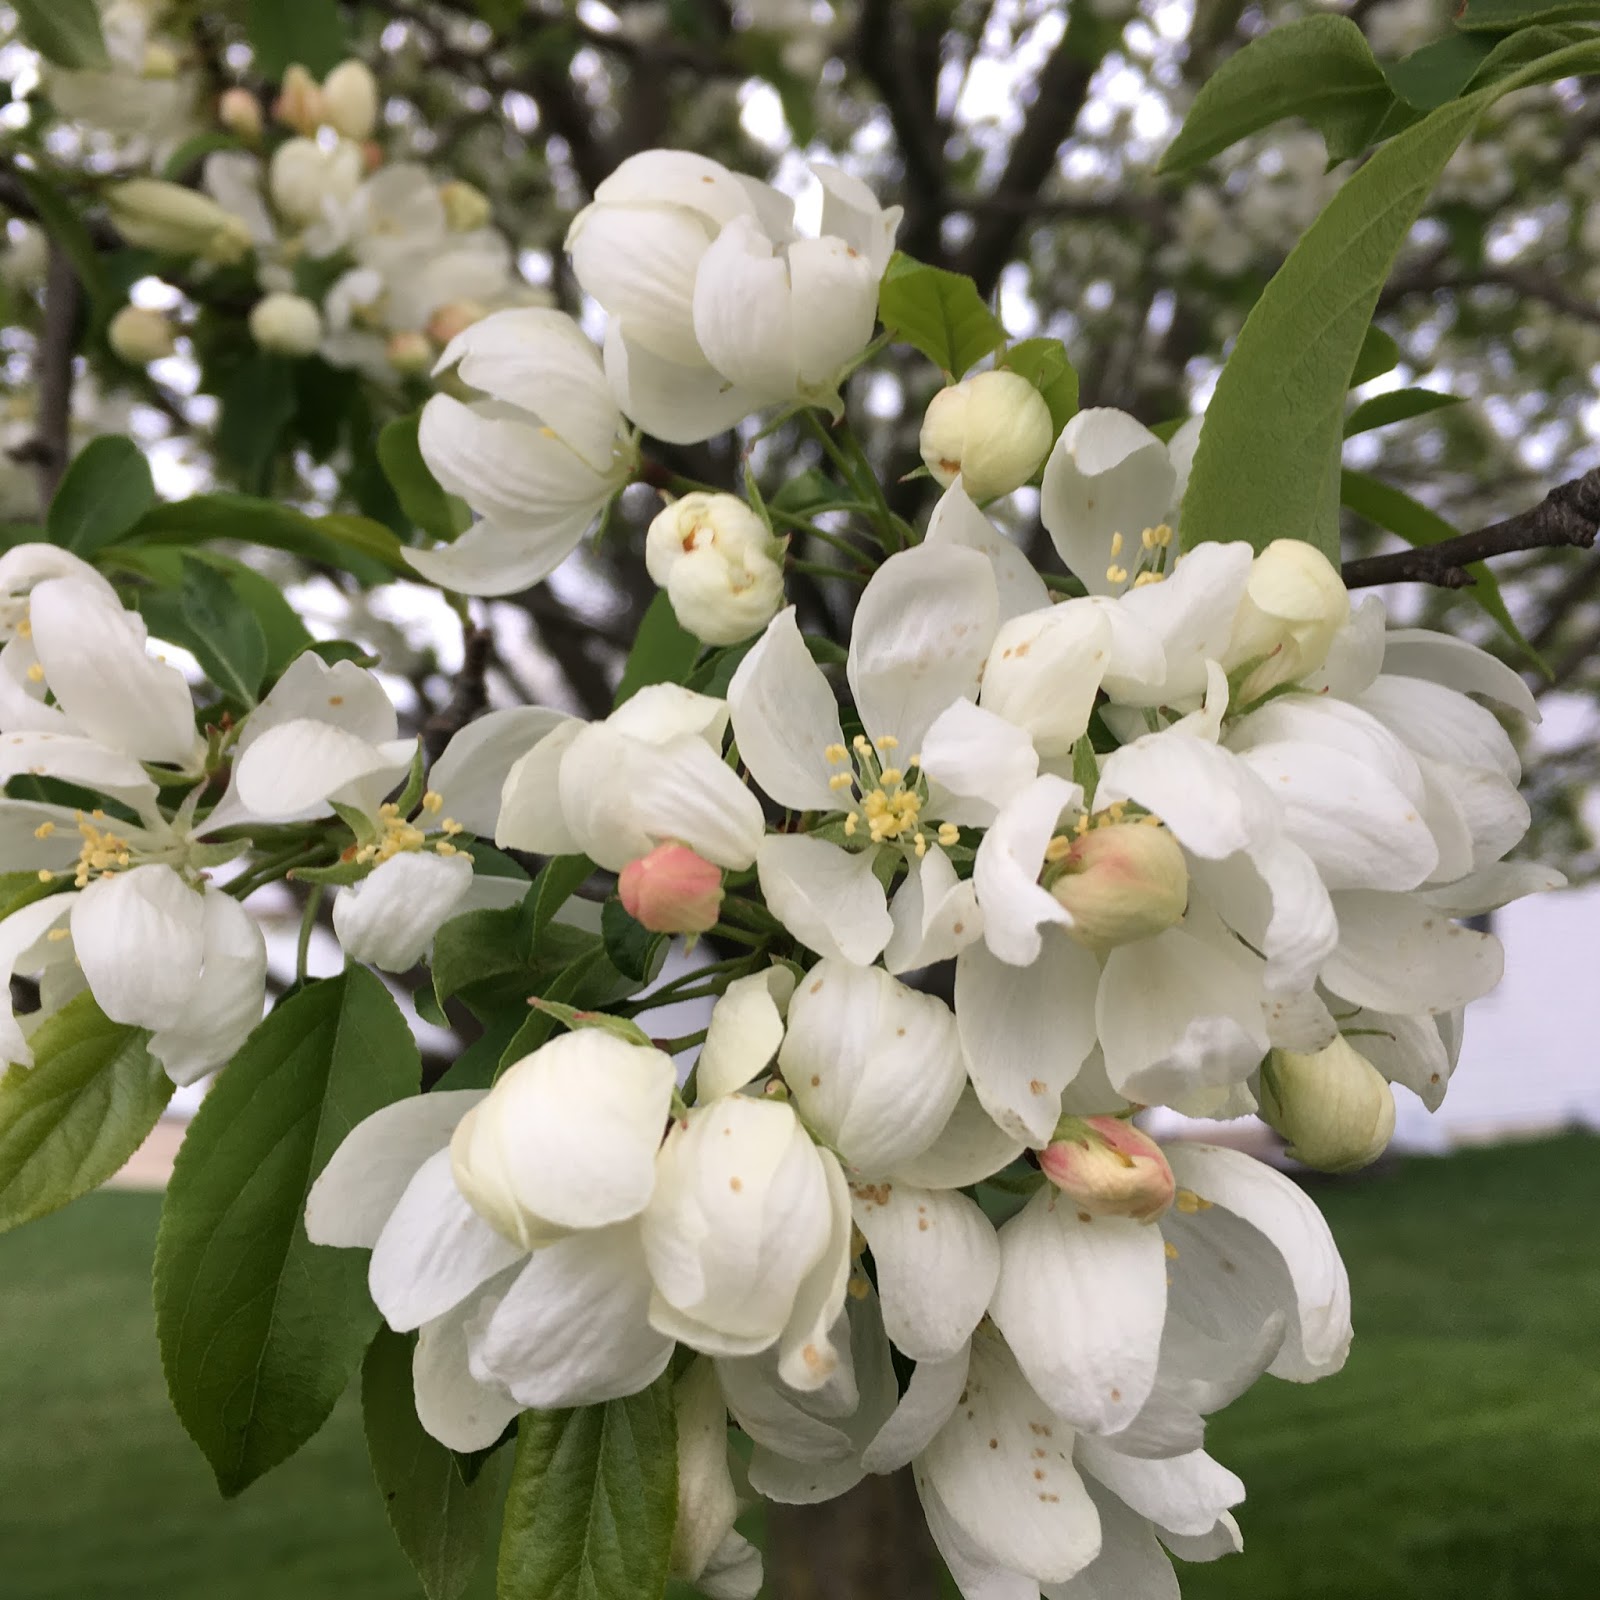
For the front layer, I scribble quilted around the floral design.


Here's how that layer looks on the back--but no one will see it.

I trimmed everything up nice and square. Then I put some binding on the top edges of the middle and front layers. I cut 2 strips 2 1/2 inches wide by the the width of the layers. I turned up a long edge leaving about 1/4 inch and pressed it, then sewed each strip on a layer using Edyta Sitar's binding method. (Thank you for this idea, Lara!) 


Then I topstiched them twice to firm up the edges. 


I laid everything out to make sure it would all fit together well. 

But before binding it, I stitched the middle and top layers together down the middle to make two separate pockets on the front. 


Then, one more thing: I cut two 3 1/2 inch squares, folded them into triangles and laid them on the back for hanging. 

I cut binding from 2 1/2 strips of fabric and again used Edyta's method. Because my strips were pretty wide, the binding on the back is fairly wide but it gives good body. I handstitched the binding to the back. I was going to hang the ruler keeper with a bamboo stick on a hook, but the hook made the binding bump out. So instead, I took a length of ribbon, tied it in a bow, slip knotted it to the bamboo stick, and hung the whole thing from the ribbon. 

Here's how the ruler keeper looks in my closet with the rulers in it as well as my batch of bamboo sticks that come in handy for everything. 


I think my closet is done for now. Soon I'll do a separate post of the finish.

I'm linking up with Freemotion by the River and Sew Fresh Quilts for their weekly Tuesday and Wednesday linky parties. Buttons are on the right.

Have a good week. I hope you've tried a little project to make your life a little prettier, even if it was more complicated than it needed to be.

Oh, and tomorrow is Throwback Thursday over at Jenn's A Quarter Inch from the Edge. Yippee! Remember to share something from your pre-blogging days.  Oops! Throwback Thursday isn't until next Thursday this month. Sorry. That will give you another week to find something to share!


Sunday, May 22, 2016

Hands2Help Finishes

When I decided to join the Hands2Help challenge hosted by Sarah at Confessions of a Fabric Addict, I knew that I would use a group of charm packets I had "won" in a giveaway from Moda. (You can read that story here.) What I didn't realize until I started planning the first quilt was that I had plenty of charms to make two quilts--with more to spare. The charms were from a lot of different collections, but they coordinated well together with similar vintage-y looks and colors and a good spread of values. 

For the first quilt, I included charms with floral motifs and then filled in with other patterns. I did not pay much attention to color, but focused on dark, medium and light values, and I named the quilt Old Fashioned Values because--well, vintage and color values. The pattern is based on Flower Patch Quilt by Kathryn Ludowese.


Even a light breeze makes a quilt into a sail. I fought it with hangers attached to the bottom of the quilt. Not too classy, but they did the job. 


If you look closely at the back, you can see narrow strips of another fabric at the top and bottom of the backing. I wasn't planning on making pieced backs for these quilts because I knew that my time for making them would be limited, so I bought one length of fabric for the two quilts. I forgot to compensate for shrinkage when I pre-washed it, though, so it was about four inches too short. I happened to have some fabric in my stash that was a good match. So this backing got just a bit of unplanned piecing, but it all worked out fine in the end, and I was able to use up some stash. Always a good thing. I used a combination of walking foot quilting and FMQ. I even learned how to use the guide bar thingie that came with my walking foot to help space the lines. I really like how the alternating lines and meanders look together--and they show up nicely on the back, too.

For the second quilt, I bought a light print to use as a background for the remaining charms, then pieced them randomly. After I put them up willy nilly on the design wall, I decided to try a gradation of values from very dark in one corner to very light in the opposite corner. I spent a WHOLE DAY arranging and rearranging and generally driving myself crazy taking picture after picture to view in grayscale. In the end, I decided that I just didn't have a good variety of values left to make it work, so I went back to the random layout.  I'm calling this quilt Leftovers! After I made it, it occurred to me that the general design--especially the layout I was trying with the values--is similar to Pocketful of Sunshine by Sandra at mmm! quilts (the pattern that got so many downloads on Craftsy). I told her I was unwittingly channeling her! So, yeah. Sandra is my inspiration for this one. 

I worked really hard to make widely spaced meanders (not like my usual denser quilting). I like how soft the quilt feels with less quilting. I also confirmed with this quilt that I prefer quilting away from myself (pulling the quilt toward me) when I can. I can see what I've done, and I don't put as much drag on the quilt as I pull it around. 


Now, don't go away yet. There are more pictures to share. I usually take pictures of quilts on my neighbor's fence, but it slopes downhill a bit, which makes things a little wonky, and it's getting boring. So I am determined to find and use more attractive locations. This past week, I ventured out beyond the confines of my backyard to visit our neighborhood sledding hill for a photo shoot in nature. I'll show those pictures in a minute. But first the details for these quilts: 

Old Fashioned Values Quilt
Size: 68 by 54 1/2 inches before quilting 
         67 by 53 1/2 after quilting 
         63 7/8 by 51 7/8 after washing/drying

Batting: Warm and Natural
   
Leftovers! Quilt
Size: 69 by 57 inches before quilting 
         67 by 56 after quilting 
         64 1/4 by 53 1/4 after washing/drying

Batting: I'm not sure. I'm pretty sure it was all cotton. I bought it off a bolt awhile ago thinking it was Quilter's Dream Select, but I'm not sure it was. It was harder to quilt than the Warm and Natural--my needle seemed to have some trouble piercing little "knobs" across the surface. It does have a good drape and feels a little spongy--in a good way. 

Sashing: 2 inch strips (1 1/2 inches finished), tan-on-white vine print from Joann (no info on selvage).
Borders: 2 1/4 inch strips (1 3/4 inches finished), same print from Joann.

Both Quilts  
Machines: Singer Featherweight for piecing; Singer 115 treadle for quilting

Thread: Superior Masterpiece in Granite for piecing. Superior King Tut in White Linen for quilting. 

Collections of Moda charms: 
Collection for a Cause Mill Book Series circa 1889 by Howard Marcus
Garden House by Jan Patek Quilts
Larkspur by 3 Sisters
Lizzie's Legacy 1850-1880 by Betsy Chutchian
Songbird Gatherings by Primative Gatherings
Southern Exposure by Laundry Basket Quilts
The Potting Shed by  Holly Taylor
Ville Fleurie by French General

Backings: Mostly a vine print by Fabric Traditions, plus a little extra unknown print from my stash for the shortage on the Old Fashioned Values quilt.
Bindings: Unknown old print from my stash (leftover from a quilt I made for my son-in-law when he was in college).


Okay, more pictures. After all, they'll be all I have left after I give the quilts away.


It doesn't look like it, but that's quite a big hill for sledding.

Play structure at the top of another hill.


I'm still learning how to display the quilts, but it was a fun photo shoot, and now I know I'll be on the lookout for other places to record my quilts.

I am truly grateful to Moda for sending me these charms. At first I didn't think they were my style, but I really had fun sorting them by value and motif, and now that the quilts are done, I like them! A lot! I don't have much experience sewing with charms and wasn't sure I'd enjoy it. But I was impressed with how neat the tiny pinking on the edges stayed through a LOT of handling. I would definitely sew with charms again. 

These two quilts will be on their way to give comfort and hope to patients through Happy Chemo. 

I'm linking up today with the Hands2Help linky party at Confessions of a Fabric Addict, and the rest of the week, with My Quilt Infatuation, TGIFF, Free Motion Mavericks, and Crazy Mom Quilts. I'll add the links as the week progresses. Buttons for most are also on the right sidebar.  


Confessions Of A Fabric Addict

Have a lovely week, no matter who you are quilting for!

Tuesday, May 17, 2016

Swatches

I'm sort of between projects this week. I just finished two quilts, but I'm not quite ready to share them. I did venture out beyond the confines of my own yard to take pictures of them, and I'll have a post up on the weekend. My next big project will be some secret sewing that I can't share for quite awhile. I do have a wall quilt that I'll work on in the meantime, and I hope to also have some other little projects that I'll be able to blog about for the next month or so. 

At loose ends today, I tackled a little project that I've wanted to do for some time. Homemade swatches. I have a Kona color card, which I love, but I wish that I could move the fabrics around. I know there are nifty ways to cut up the card and mount the little swatches, but I just wanted to do something quick. I also wanted bigger swatches. So today I went through my Kona bin (there are also a few other solids in there) and cut squares of about 4 1/2 inches. Then I pinked the edges and labeled each square with the brand, color name, and color number (if it was Kona) using a permanent marker on light fabrics and a white colored pencil on the darkest ones.


I probably should have pressed my fabrics, but I was in the making zone and couldn't be bothered. I tried using a paper puncher to make holes in each square, but it jammed, so I traced the circles and then just cut the holes with sharp embroidery scissors. So far they are pretty crisp. If they start fraying, I'll put some Fray Check on them.


I cut front and back covers from scrap template plastic (only one shown here) and two card stock flyleaves (only one here) for my little swatch book. 

Then I loaded up my swatches onto a jump ring I found in a junk box. (Kind of wish I had pressed those fabrics.)


Here's how the book looks with the swatches fanned out:

And here it is closed:

I suppose I could decorate the front, but this works for me. The flyleaves give it a clean look, but they are also useful to place behind light fabrics when they're fanned out to ensure that the colors are true. 

This will be an easy swatch book to slip in my purse when I'm shopping or for general planning at home. I only have about 30 solid swatches right now so the 1-inch jump ring worked out fine. If I add a lot to the book in the future, I'll need a bigger one. But hey, this one was free and now my junk box is a tiny bit less stuffed. 

I'm linking up today with Freemotion by the River for Linky Tuesday and tomorrow with Sew Fresh Quilts for Let's Bee Social. (Click links here or the buttons on the right.) I'll be back on the weekend to share my finishes. (If you want a sneak peek, click on my Instagram link on the right.)

Have a great week with your quilt related projects--big or small. 

Sunday, May 8, 2016

Quick H2H Update

Just realized there's an opportunity to show my progress on my Hands 2 Help donation for Sarah over at Confessions of a Fabric Addict. So here's what I've got:


I decided to quilt the second quilt first since it's quick, simple meandering. Then I can get the binding put on this week and stitch it down in the evenings while I quilt the first quilt during the day. No florals in this one. Some vines though. Hopefully it will appeal to someone who doesn't care for florals or light/bright colors. (Okay, I admit it, I'm thinking "man," but that seems sexist, doesn't it?) I'll show the whole quilt at the final link-up party.

Have a good week, and be sure to check out Sarah's blog for the fun guest post from Joanne today. 


Confessions Of A Fabric Addict


Thursday, May 5, 2016

Throwback Thursday Quilt Edition: Anniversary Quilts

My in-laws were married 73 years ago this week. So for my Throwback Thursday post, I'm sharing a quilt I made for them for their 45th anniversary in May 1988. And as a bonus, I'm sharing the quilt I made for my parents for their 35th anniversary in September 1986. These quilts share some similarities--mostly because of my inspiration, but also the fussy cutting of some of the fabrics and the sizes. Both quilts are based on photos I found in Quilter's Newsletter Magazine (QNM). If you follow me, you'll know that I recently cleaned out my sewing closet. In that closet were over 300 issues of QNM extending back to the late 1970's. I've tried to get rid of them in the past, but nostalgia always sidelined my efforts. Finally, I decided to save only issues that had patterns, photos or articles about quilters that directly influenced my quilting. I whittled my collection down to 27 issues, mostly from my early quilting years. Going through those magazines recently gave me the idea for this post. In my early quilting days, I drafted my own patterns, usually by copying quilts I saw in photos. 

The quilt for my in-laws is based on a photo of Tribal Images by Suzanne Knapp that I found in the February 1987 issue (number 189) of QNM. 


I was drawn to its southwest vibe because my in-laws spent a lot of time in the southwest and enjoyed arts and crafts from that region. I studied the photo to figure out how to break down the pattern, then drew it on graph paper and made templates out of plastic. I used some striped fabrics and fussy cut them using the templates. 

While getting ready for this post, I looked at the photo in one of my saved magazines. According to notes about the quilt, it was an adaptation of a pattern called Indian Chief that had been in QNM issue 105. After a little research online, I located a picture of that old issue and suddenly realized that I have a copy of it. I must have ordered it from the archives. It's the oldest copy of QNM I have (September 1978), but it isn't part of my first subscription. And according to that issue, the Indian Chief pattern was a reworking of a pattern by the same name from 1942, published by the Lockport Batting Company. 


Apparently, even though I ordered the issue with the pattern, I did not use it, probably because the size and details were different from what I wanted to make. And I know from experience that if there is a hard way to do something, that's usually the way I go. Here's my version of the quilt:


The quilt for my parents is based on Pastiche by Jane Blair that I found in the June 1982 issue (number 143) of QNM. 


I liked the central medallion with a sort of tulip design (representative of our Dutch heritage), the colors (that matched my parents' living room) and especially the leaves in the corners.  As with the first quilt, I drafted the design on graph paper and made templates for some parts to fussy cut striped fabrics. 


Bottom border is cut off on this old photo


I remember that both quilts were challenging to draft--figuring proportions was hard to do from a photo, but I had ways of folding the photo (there are lots of creases in the magazine pages), measuring with a ruler and scaling up the measurements--and really, it was the only way I knew how to make quilts I liked. I had a hard time coming up with creative ideas on my own. I still have trouble with that. I didn't know anything about copyrights, and I guess I'm still confused about when they apply. But I knew that these quilts were for family and figured it was okay to copy someone else's hard work in designing. (I'm less sure of that now, especially this week with all the discussion in the online quilting community about giving designers their due for all of their hard work. I do have to add, though, that based on my limited research here, patterns may have their roots in older patterns so that it's sometimes difficult to determine just who is the originator of a design.)

So today, I share these quilts with much thanks to Suzanne and Jane. (And QNM!) My father-in-law and my mother are no longer living, but my mother-in-law and father both have the quilts hanging in their homes. And because they carefully followed my instructions long ago to hang them out of direct sunlight, both quilts look the same as when I made them. (Actually, they look better--the wonkiness of the edges has relaxed over the years.) I'm glad they still enjoy them. 

Both quilts measure about 20 by 30 inches. I pieced them on my Singer Featherweight and hand quilted them. The battings are lightweight polyester and the quilting thread is cotton. 

I'm linking up today with Jenn at A Quarter Inch from the Edge for Throwback Thursday. Go check out the other quilts there and enjoy a blast from the past. 

Wednesday, May 4, 2016

Basting!

I found myself with two quilts to baste this week. I usually baste them on a folding banquet table on risers. It takes me a long time, and I do a lot of re-positioning to get everything square and smooth. I really don't like basting part of a quilt and then shifting everything over to do the rest. Last year I had to baste a quilt that was way too big to do on my table. The only place I had room for it was on my basement floor. Crawling around on the floor was literally a pain, but that quilt was so smooth after basting that I had no trouble keeping it smooth while quilting it. It really helped to have the whole back secured at once.

I decided to do something to combine the quality of the floor basting with the comfort of standing up to baste. A few weeks ago there was a sale on banquet tables at a nearby big box store, so I bought another along with more risers. When it was time to baste this week, I set the tables up next to each other. 
My husband calls these Mickey Mouse legs.
Together, they are the perfect size for most of the quilts I make. And a bonus is that I can use the "seams" where the two tables come together and where they fold in half to center the quilt and keep it square. No more re-positioning and trying to smooth and square everything again. I clamped the backing on the sides and taped it on the ends (I need a few more clamps), quickly smoothed the batting and first quilt top over it, and finished the basting in a very short time. 


Oh, my. I still had time to baste the second quilt!  


Using two tables together means I have to baste in the basement, which is not the most attractive environment, but now I can boast that I have a three-story quilt studio. Ha!

And now I have two quilts to finish! I'm halfway through the first one. I'm trying really hard to do big meanders so that it stays nice and soft. Big meanders are a challenge for me. I'm not sure why. Maybe it's because I have to move the quilt around more than when I do little meanders. But it's going well, and I love the feel of the quilt with less quilting than I normally do. 

You might recognize this quilt as the top I made with the leftover charm squares from my Old Fashioned Values top. Well, here's another story about those charm squares. Awhile back when I was rummaging in the closet, I heard something fall, but I didn't know what it was and couldn't find it. As part of my closet clean-out a couple of weeks ago, I removed a bookcase so my husband could paint it. And there behind it was a charm pack! It turns out that the windfall of charms I "won" was 12 packs, not 11! So I sent the extra one on to Shelley to share more of the wealth. Good thing I moved that bookcase, or who knows when I would ever have found those extra charms?!

If you noticed the little addition to my side bar, you might already have seen the pictures above. Yes, I finally joined Instagram and made an account just for my quilting projects. I couldn't use Instagram before because I didn't have a smartphone. My previous phone was this one: 

You laugh, but it was a really good phone--it got reception everywhere!! And at the time, all I needed was something to make calls and text on. But after more than 12 1/2 years (!) it finally lost its ability to keep a charge, so I made the scary move (for a technophobe like me) to upgrade in a major way. Now that I'm catching up with the social media world, I'll be sharing pictures when I'm not posting on the blog. (And as I get used to this format, I hope the pictures will mostly be different from the ones I show here.) Fun! I would love to put my Instagram pictures on the sidebar, but apparently with the platform I use for blogging, that would require going through an intermediate website, and I don't want to do that--at least for the time being. So if you'd like to see the pictures, you can just click on the link to follow me. 

Okay, that's it for new stuff this week. Tomorrow I'll post something from my quilting past for Throwback Thursday. 

Oh, one more picture. Our front yard Spring Snow crabapple is pretty much at peak today. Love Spring! But it's supposed to rain, and I'm afraid the petals will be washed off by tomorrow.


I'm linking up today with Sew Fresh Quilts. Have a great quilting week, and I hope you have something fun to baste!