This QAL for Positivity Blooms has been so satisfying. It is a collaboration between Bernie at Needle and Foot and Preeti from Sew Preeti Quilts to encourage quilt donations, specifically to Mercy Hospital in Sacramento, California for the Palliative Care Unit, but also to other organizations of our choice. Bernie is our encourager, and Preeti is the designer of two patterns: Positivity Grows (vines/leaves) and Positivity Blooms (flowers with leaves).
I knew immediately that I needed to make the Blooms version. I'm keeping my donation closer to home. It will go to the Mother and Baby program at Pine Hospital near Grand Rapids, Michigan, to give mothers their own quilty hug during therapeutic treatment for overcoming post-partum depression and other mental health challenges surrounding childbirth. My quilt is smaller than Preeti's pattern to better fit the needs of the program.
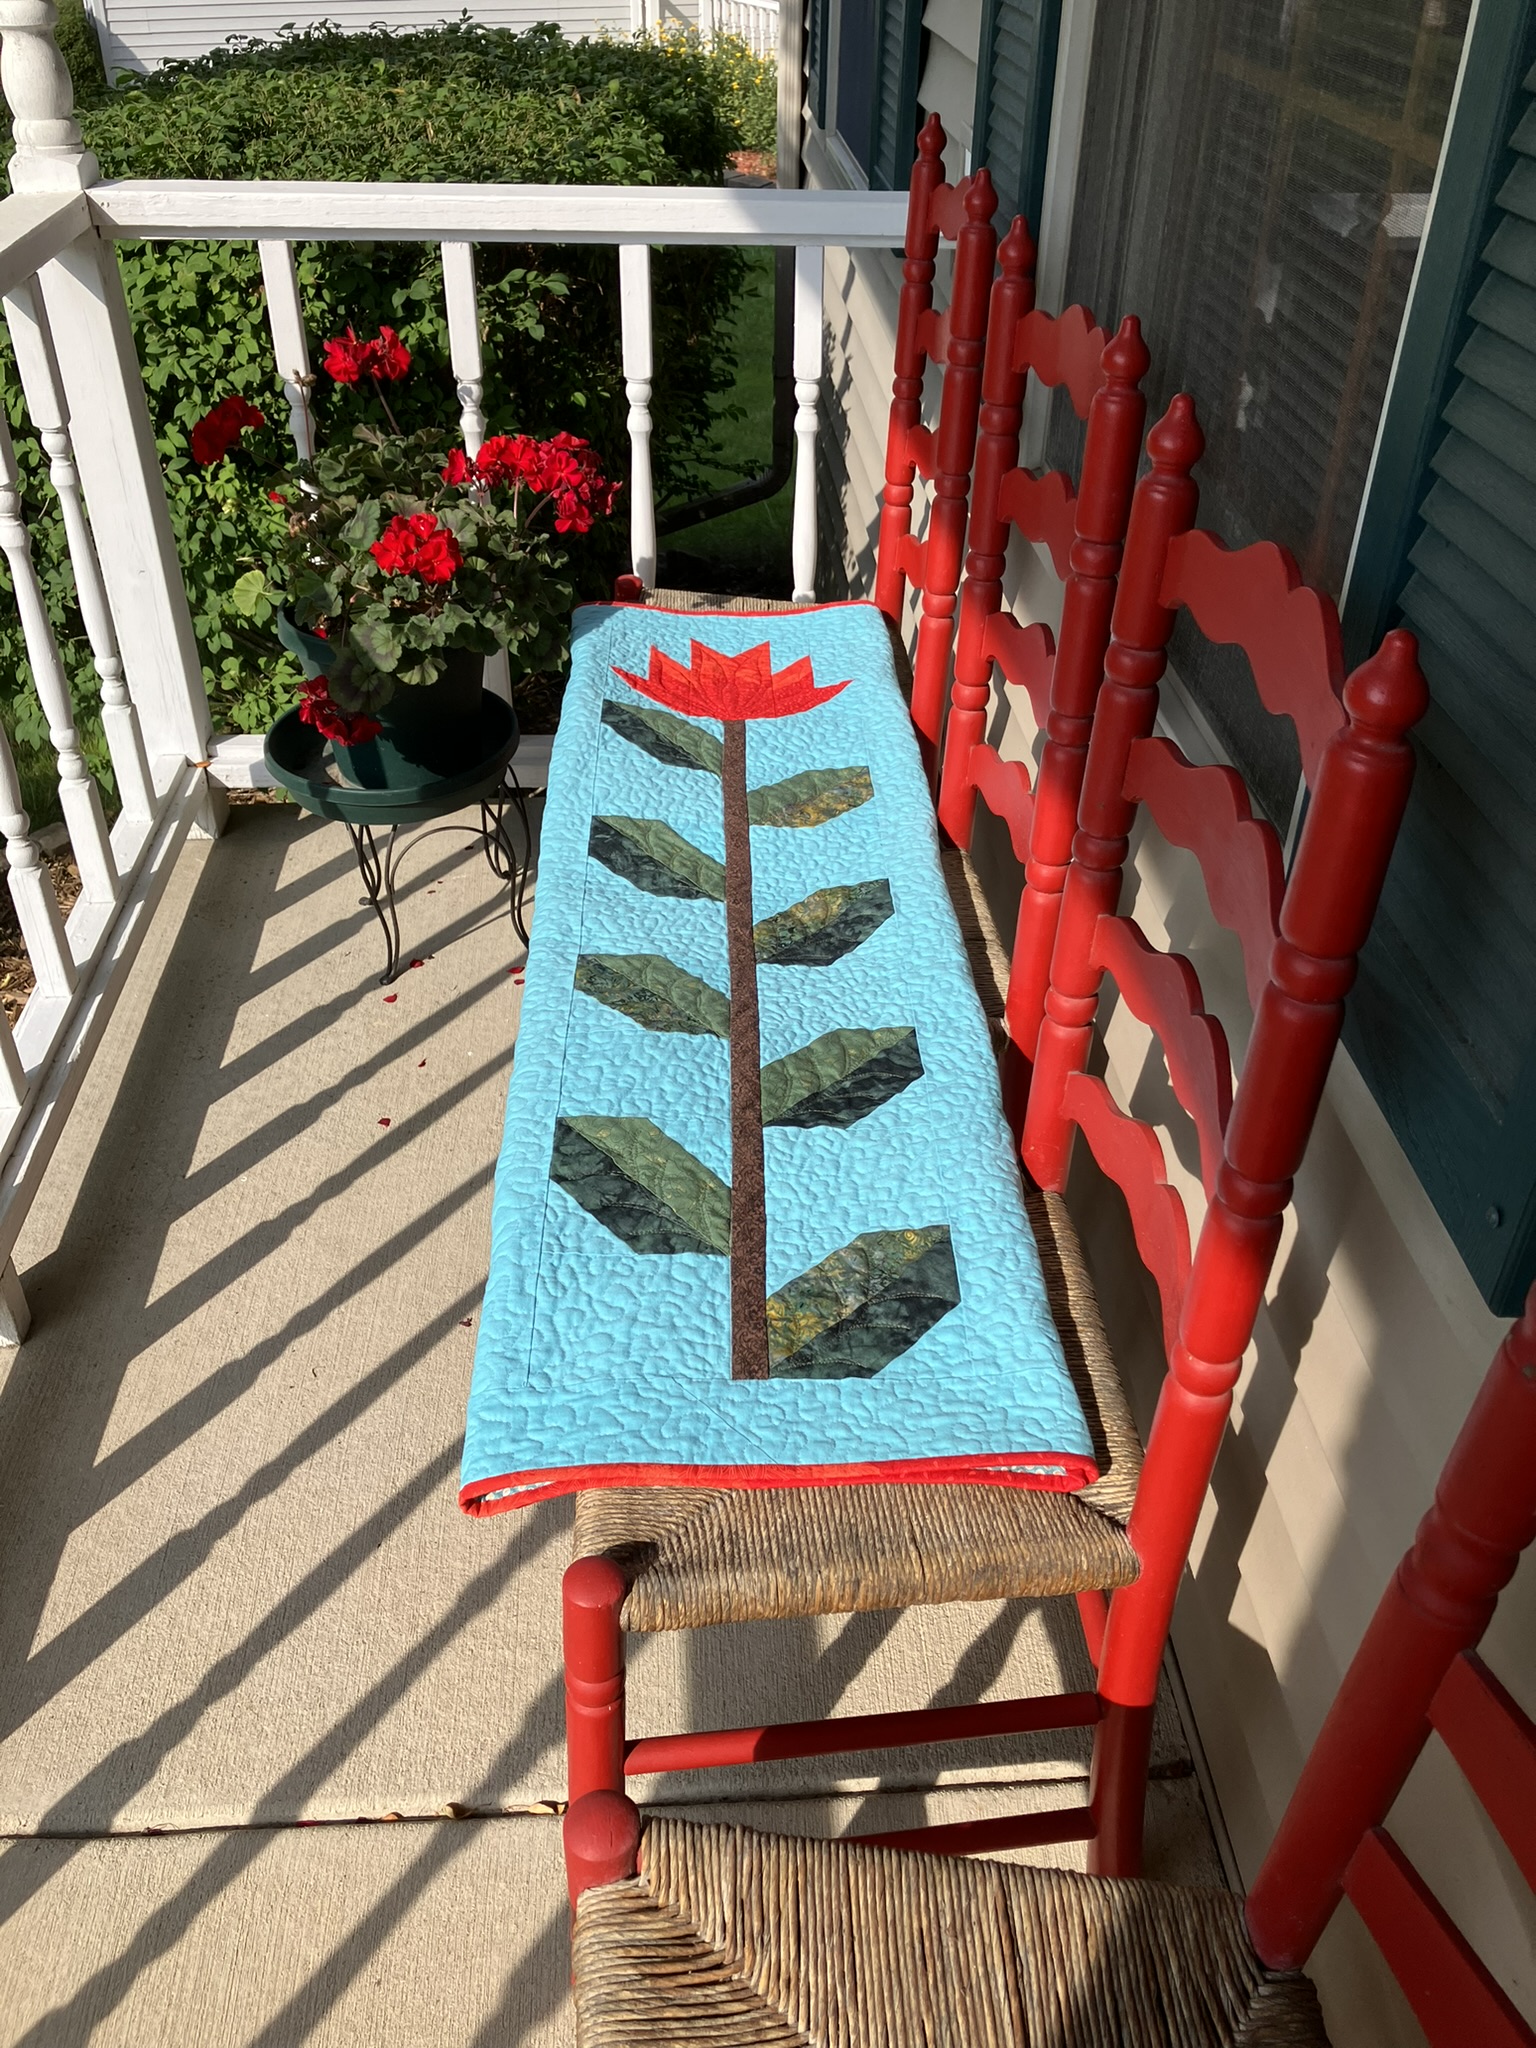
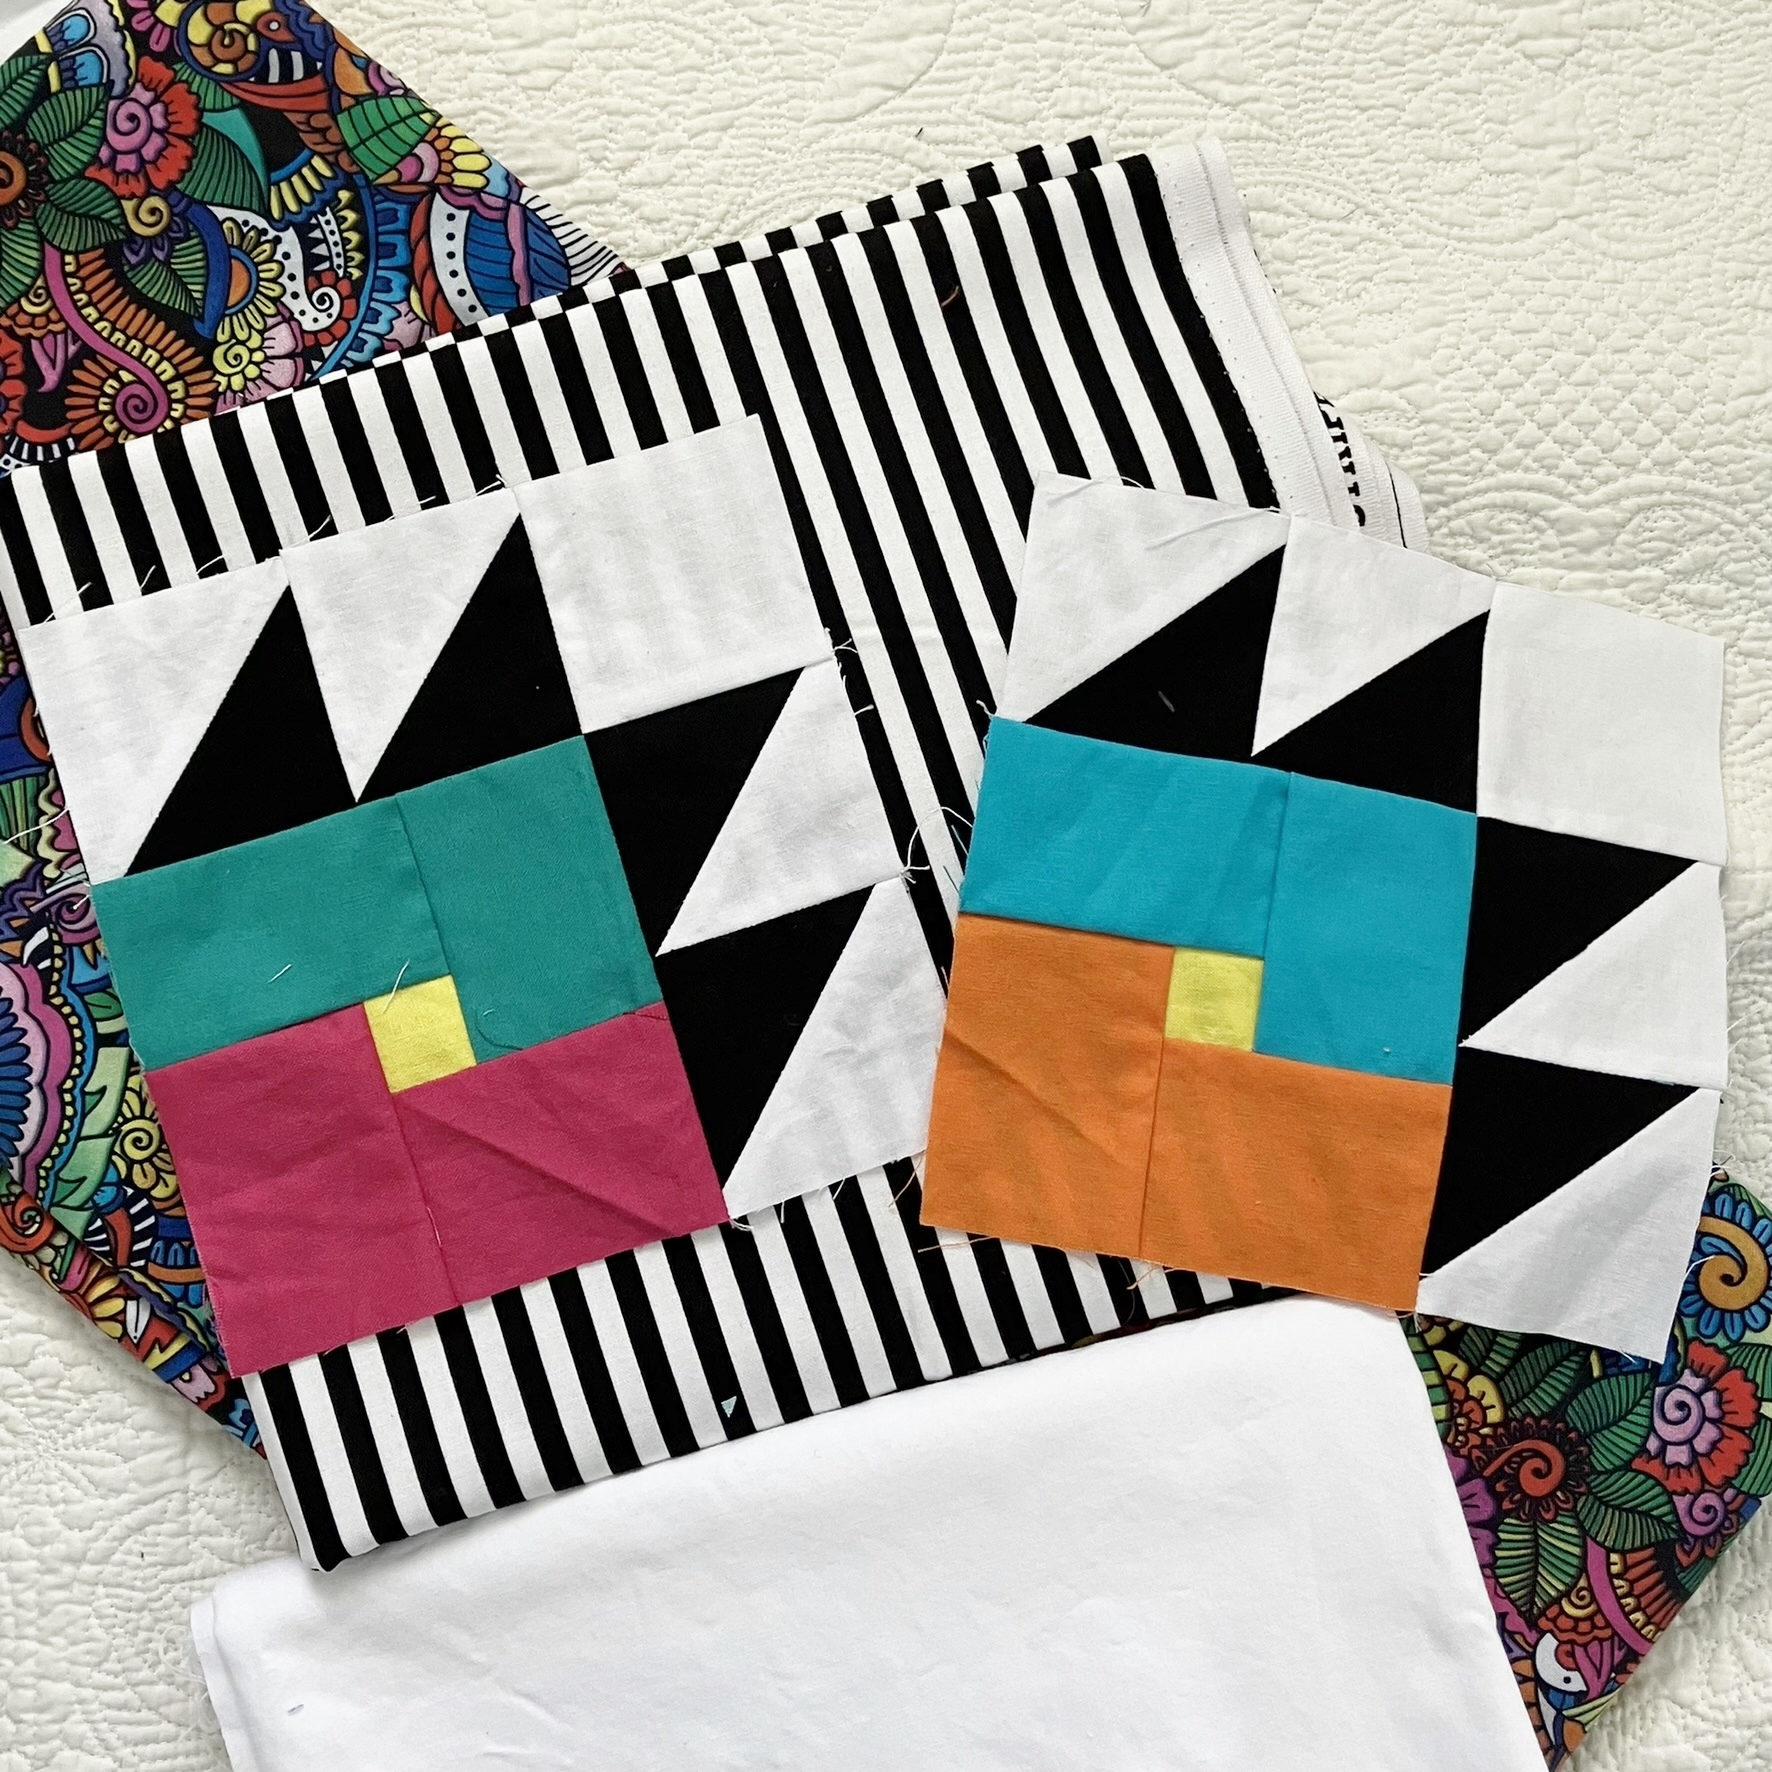
To fit my style and the sizes of my fabric pieces, I made my quilt a little differently than instructed in Preeti's pattern. Instead of using strips, I pieced my leaves with no-tear-off paper foundations, rearranged some of the seams of the blooms, used long strips of cloth for the stems instead of piecing parts of the stems into individual blocks, and widened the borders to the same size as the sashings.It took me a long time to choose the reds for the blooms. I wanted a bit of contrast but not a lot.
I had a fat quarter of the orangish red on the left and found the three others at a local shop. They were so close to the same color, but I couldn't decide, so I bought all three and then spent way too much time picking the best one using grayscale before finally choosing the viney print for the darker red. I had one little unexpected challenge when cutting out the background fabric. I discovered a line of fading through about a half-inch from the fold. It had apparently been on display for awhile near a window with strong light in the store. I needed to cut around those areas so there are some extra seams in the sashings and borders. I knew they'd pretty much disappear into the quilting, but it did take a little longer to cut and piece them. Despite this, the quilt went together fast. I was stuck indoors for several days due to wildfire smoke alerts, so sewing was a good way to pass the time.
I went back to the store when it was time to figure out the backing because i couldn't get a fabric out of my head that I had originally wanted for the background. There hadn't been enough on the bolt for the background, but I knew that addition of another strip of fabric would make it work perfectly well for the back. And then the shop owner brought out a wideback for that extra strip. Oh, yes!. Well, of course they went together--they were from the same designer.
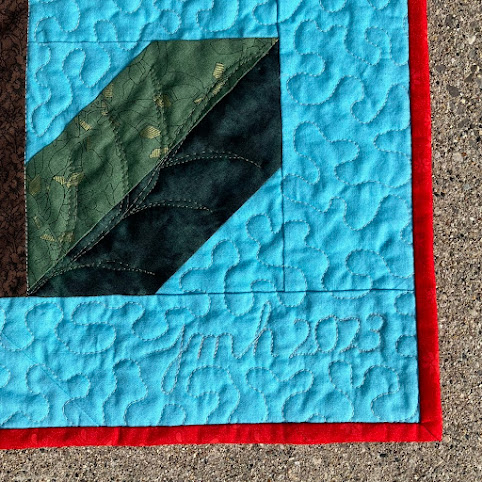
For the quilting, I made some templates to add detail to the blooms and drew around them with my Chakoner. Hard to see the chalk lines here unless you enlarge the photo.Then I quilted them with my walking foot.
I also drew on some guidelines for veins in the leaves and free-motioned them. After quilting in the ditch along the stems, I free-motion meandered the background. I'm thrilled with the texture. What a difference it makes in that solid fabric.
I had considered quilting the words Bee Balm in fancy cursive in the upper right area of the quilt, but then decided that someone else might associate a different flower name with these blooms so I left them out. Quilting went super fast thanks to two rainy afternoons in a row.
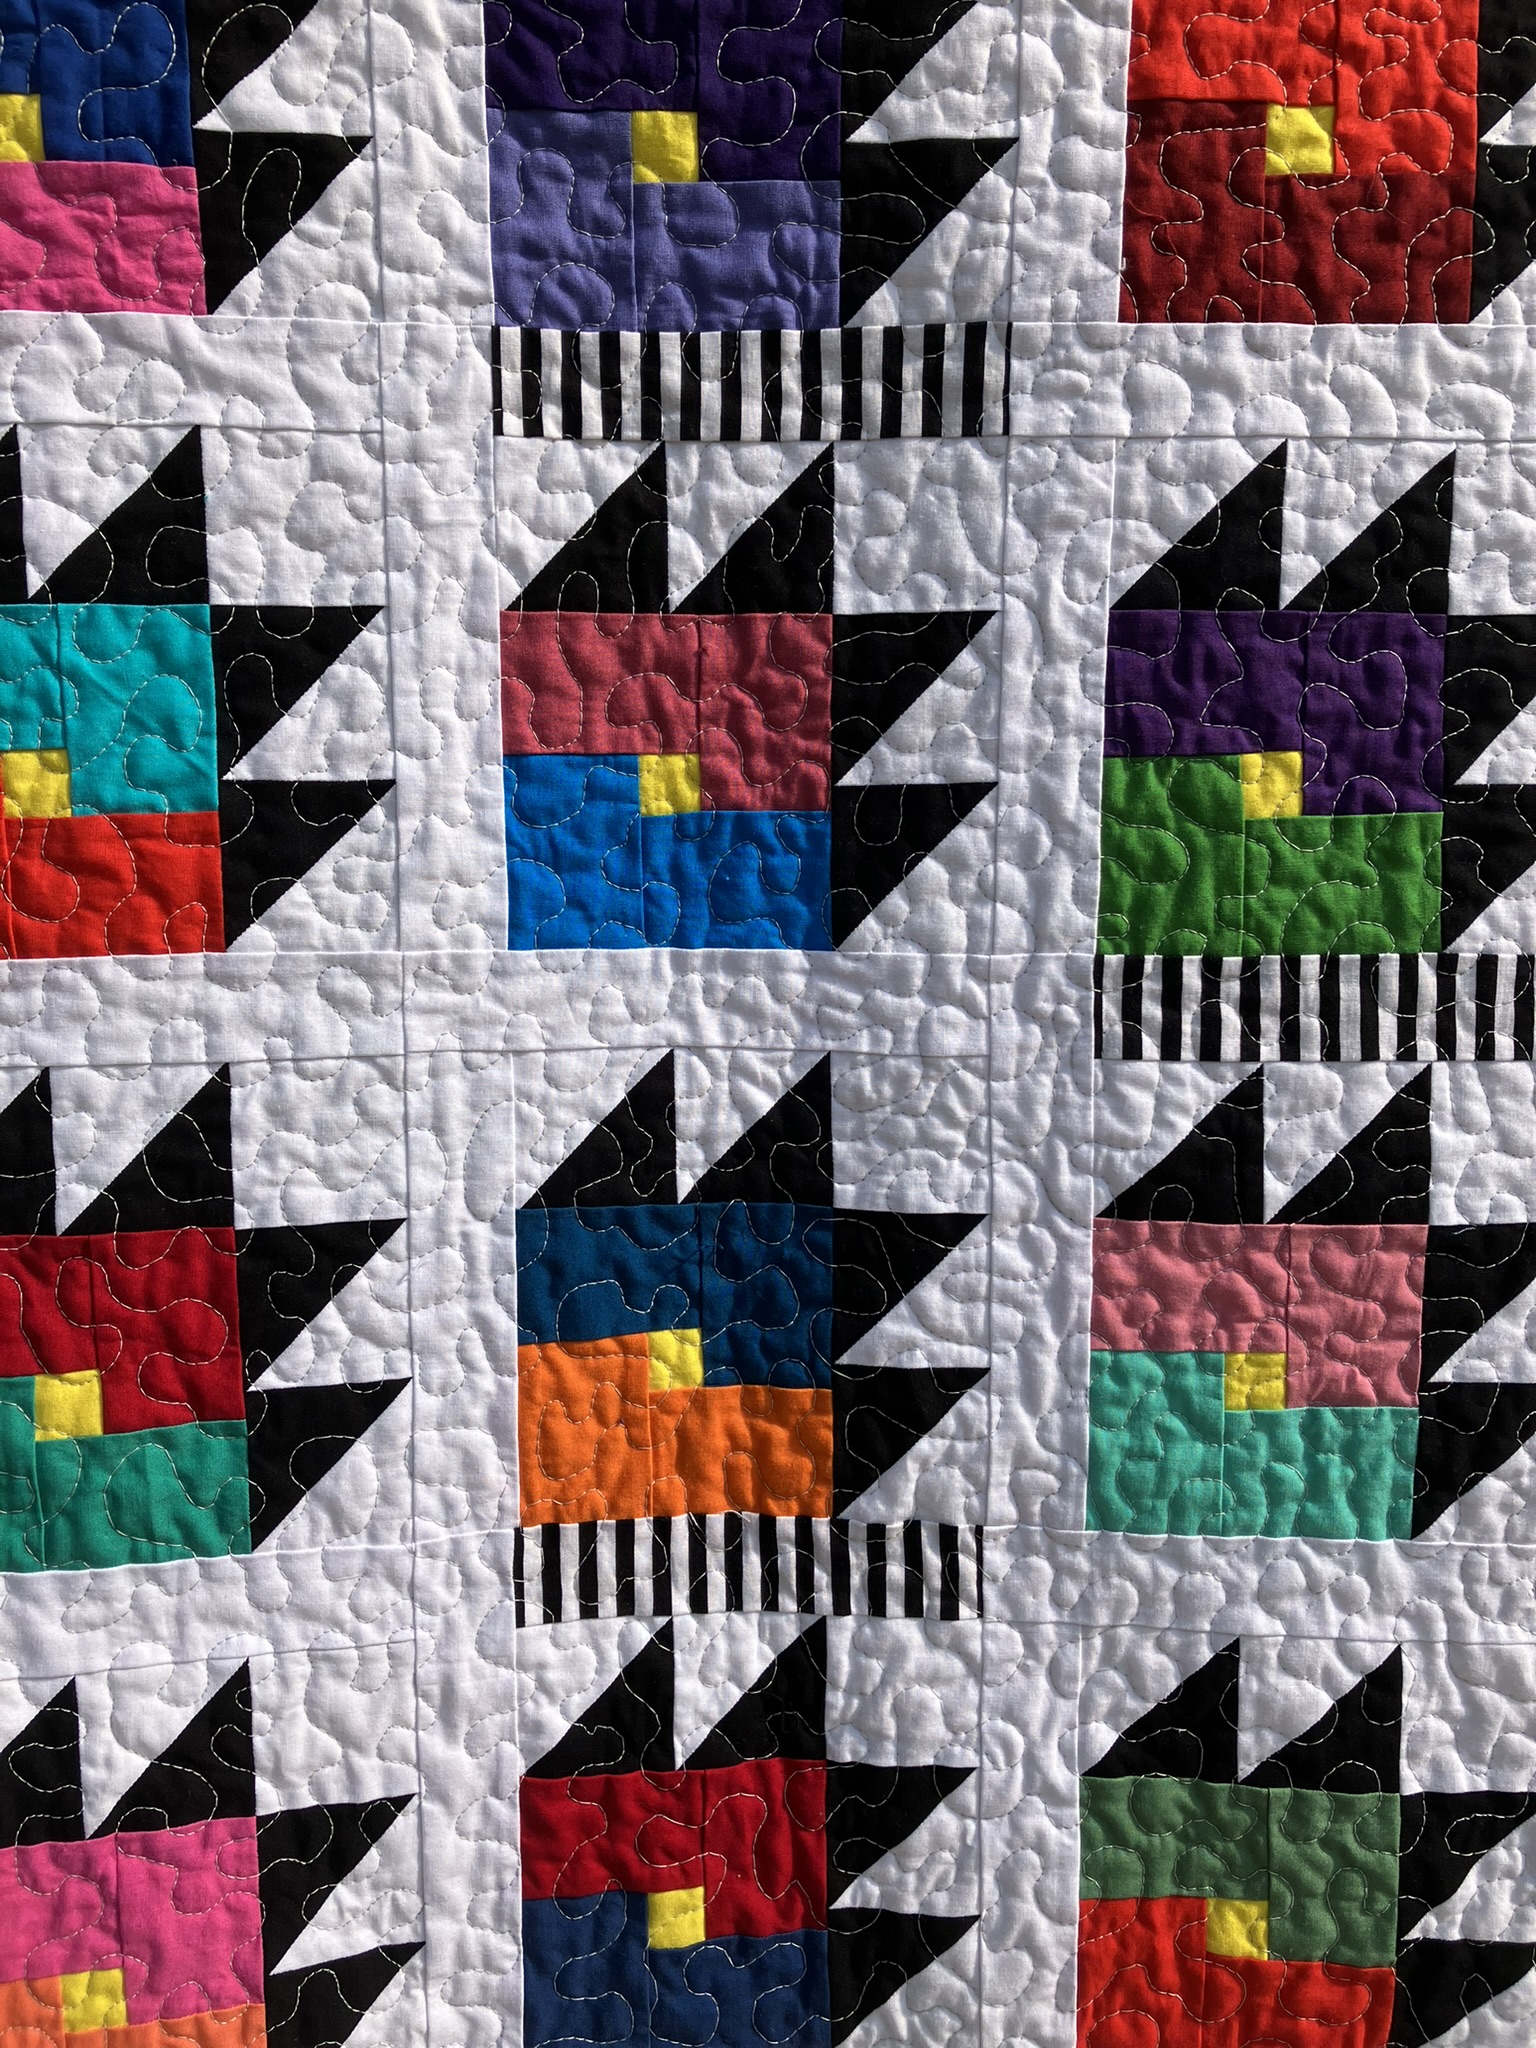
Here's the back.
The binding was made with the leftover reds in the blooms plus the two other red fat quarters. It looks solid, but the subtle patterns do show up nicely in person.

I was so taken with this quilt pattern that I just might have to make one (or a variation) for myself. My living room wall could use a new quilt to replace one that has faded over the years. We'll see....
It turns out the finished quilt was challenge to photograph in the wild. My usual places didn't work well because if I draped it over something, the blooms were cut off. And when I photographed it from afar the color washed out. But I'll show you what I got anyway along with my usual driveway photos while I list the stats...
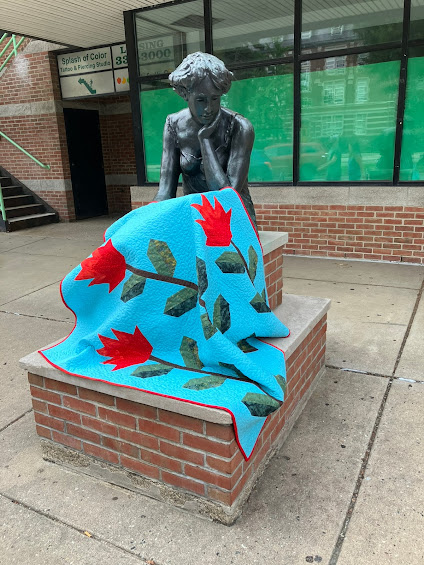 |
| Cassie (I feel like Cassiopeia and I are on a nickname basis now since she's been my model several times) wasn't too sure about how I draped this. |
Pattern Positivity Blooms by Preeti at Sew Preeti Quilts, with some re-sizing and my preferred techniques.
Fabrics Some random pieces and a fat quarter from my supply; the rest are likely from Lori Holt for Riley Blake.
Batting Fairfield 80/20
Thread Piecing: Superior Masterpiece in Granite. Top threads for quilting: Mettler 40/3 cotton quilting in a dark red (not sure of name/number), Mettler Silk Finish cotton in Burnt Olive, Coats and Clark Machine Quilting Cotton in Nugrey. Bobbin thread: Also Coats and Clark in Nugrey. Hand sewing on binding: J and P Coats Dual Duty Hand Quilting in red.
(Sidenote: This is the first time I've ever used a different color in the bobbin from the top thread. I wasn't sure my machine would like quilting with two colors, but it did great. I wish I had done it before. I'm thinking particularly of a quilt I made earlier this year with a very dark front and light back. It would have looked so much better. Sigh.)

Binding Cut 2 1/2 inches and random scrap pieced. Folded and sewn to finish at 3/8 inch.
Quilt Size Pieced: 48 1/2 by 56 1/2 inches.
Quilted: 47 1/4 by 55 inches.
Washed: approximately 45 by 53 inches.
Machines Singer Featherweight for piecing. Singer Treadle 115 for quilting and machine work on binding.
 |
| Signature/date |
Freshly laundered, dried and all crinkly on a perfectly sunny day:I'll be sending this out soon. I'm linking up (on Sunday) with Bernie at Needle and Foot for the final link up for the Positivity QAL. Go check out the other quilts--and check out Preeti's quilts and instructions here, here and here. You just might decide that Positivity Blooms (or Positvity Grows) is in your future, too. Thanks to Bernie and Preeti for a great QAL. I'm also linking up with Kelly at My Quilt Infatuation for Needle and Thread Thursday and with Sarah at Confessions of a Fabric Addict for Can I Get a Whoop Whoop.
Just a reminder: I'm not affiliated with any company, so when I mention products, services, or stores, I'm just documenting what I used or liked.)


.jpg)


.jpg)


.jpg)


