Anyway, despite all of that, a major squirrel jumped out at me a few weeks ago.

No, I'm talking about a different squirrel.

My daughter saw a cool retro-looking Christmas tree skirt on Instagram, and could I maybe fit in that project? Well, yeah! It's based on the quilt pattern Atomic Starburst by Violet Craft, but was presented on her blog as a tutorial for a tree skirt in December 2017. It has foundation piecing in it. Okay, I'm in. All my daughter had to do was supply me with the fabric, which she brought to me on a well-timed trip to celebrate one of my grandsons' birthday.
The colors are the teals, apple green and gray of her living room with red and gold thrown in for a bit more of a holiday vibe.

The weather was perfect for sewing.

Before diving into the whole project, I made one star block to test out my skills and measurements. I was a little disappointed with the center of the star because some of the seams didn't seem to match up. But looking closer at the pattern, I realized they are supposed to be that way, perhaps to reduce bulk, and the whole star does look right. You can see that off-set part better on the next photo.

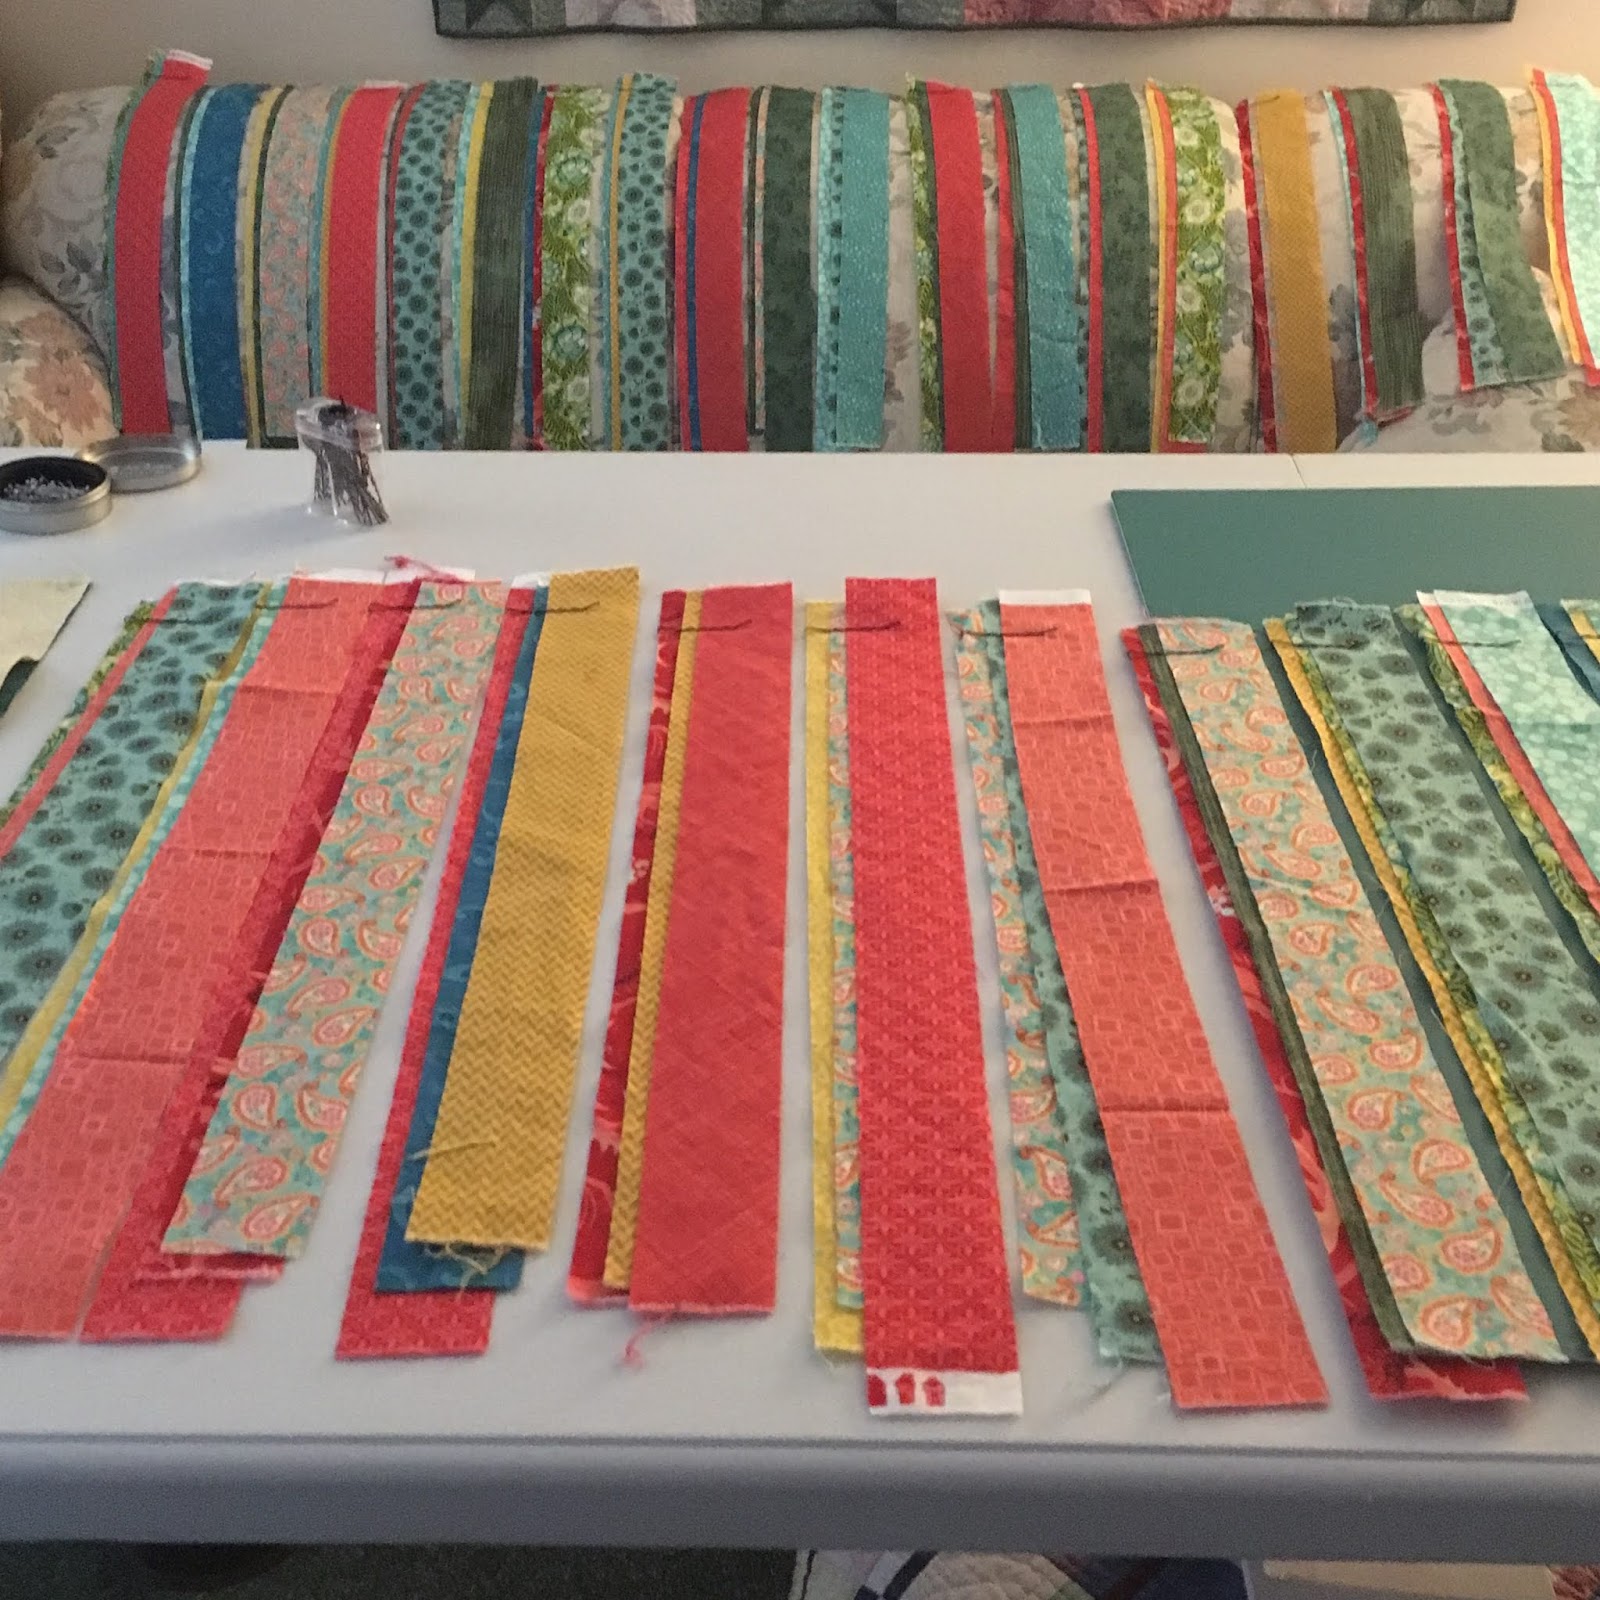
Based on the first block, I cut all the rest of the fabrics in sizes needed (usually cutting strips and subdividing them) for the remaining stars and organized them by pattern number before chain sewing them. The work seemed to proceed slowly, but then all at once all twelve stars were done!


I taped the paper template provided in the pattern to my ruler to ensure accuracy in cutting the sashings from strips. I'm sure there are rulers that do this easily, but my whole ruler collection consists of two rectangular rulers, a square one and the triangle, so I make do with what I have. (Ignore those yellow tapes. Again, leftover from another project.)

I tried several different layouts for the skirt,
 |


I have to say figuring out the sewing was tricky for me at first. It is not constructed like the quilt, and the tutorial is what I think of as minimalist as far as instructions go. So my first few parts of a section involved y seams at the outside edge. I can't even tell you what I was doing wrong, but eventually I figured it out, and then the remaining pyramids went together quickly. The other thing that threw me was how uneven the edges looked. See those little notches? Well it turns out there is a lot of room for trimming at the end. By aligning my ruler one half inch below the point of each diamond, the hexagon shape of the skirt comes out right at the given measurement in the pattern. Oh, and see those white half diamonds around the outside edge? The pattern says to take care because all of those would be on the bias if the diamonds are cut as instructed. By cutting them the way I did, all but the sashings are on grain around the edge instead of bias.
So, anyway, all was going well with my squirrel, and I was happily ready to baste. I asked my husband to bring the banquet tables up to the living room from the basement, and I got all set up to pin.

And then...I came to a screeching halt. All of my basting pins were in another quilt. I had been procrastinating finishing that quilt because I wasn't sure how I wanted to quilt it. Never mind that it had a definite timeline which was shrinking due to the recipient's teasing his mother about his eagerness to enter this world. Thankfully, he's stayed in his proper place for now. So, this squirrel had to go into hibernation until I quilted that quilt. Back went the tables to the basement, with my apologies to my husband. I am happy to report that I did get that other quilt quilted. I can't show it to you just yet, but I only have two sides of binding left to stitch down.
So, Friday, just before we put up our Christmas tree, I asked my husband to please put the banquet tables up in the living room again for basting this tree skirt--for real this time.

Several people who saw this tree skirt in progress on Instagram showed interested in making one. I have to say, I like the pattern for the quilt and I really appreciate Violet's offering of a free tutorial on her blog for the skirt. Having said that, I think you should be aware that the instructions for the skirt are not as detailed as they would be in a full pattern, so you do have to kind of figure some things out on your own. Of course, a few things I did were completely my own decision (cutting the diamonds differently), but do be aware that you will need to figure out what works best for you for the final sewing, as the instruction in the tutorial is limited to a visual.
I'm linking up today with Sandra at mmm! quilts for DrEAMi (Drop Everything And Make it) because even though this is not a total finish, it definitely was a squirrely project with a finished top. I'll be sure to post again when it's finished for good. I only have one thing to be a little nervous about: cutting into the quilt to make the opening and maybe binding around the circle in the middle and the angles on the edge--I guess that's two things.
I hope you are having a wonderful time with your holiday projects whether they are squirrels or not!