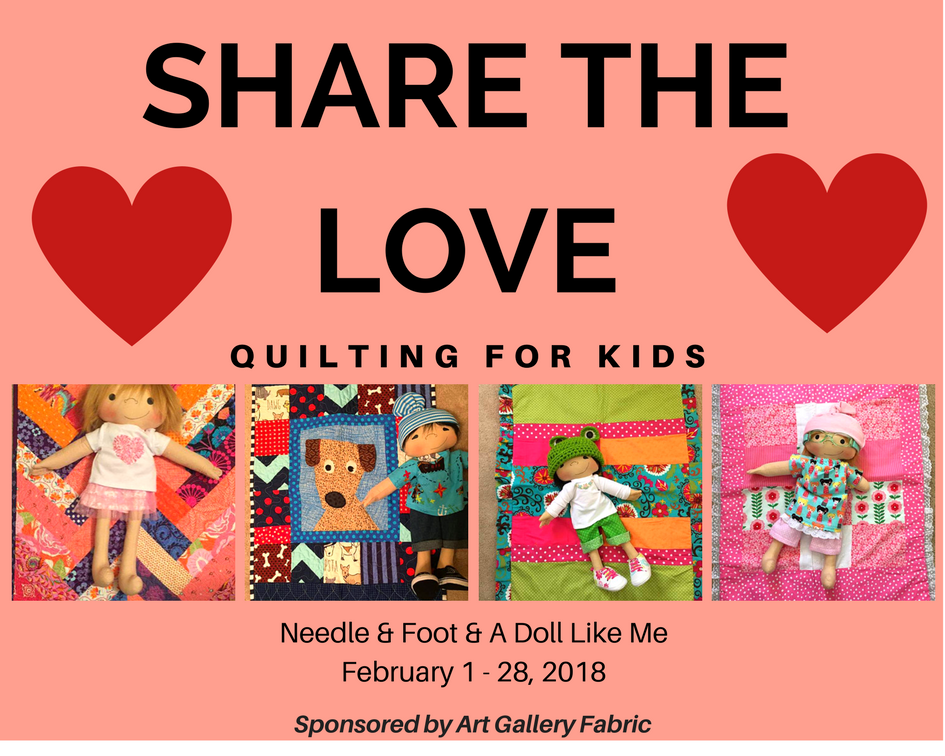
Oh, what a week it's been. It all started with a post from Bernie at Needle and Foot that highlighted A Doll Like Me, the business of Amy Jandrisevets, who makes dolls for children that match their physical characteristics (perhaps with a limb difference, or hearing aids, or any other unique feature that might not be available in commercially-made dolls). Amy also provides doll quilts to include with the dolls under special circumstances. This month Bernie is challenging quilters to help Amy build her supply of doll quilts through a project called Spread the Love, Quilting for Kids. Please go to Bernie's website to read all about it, and then go to Amy's Facebook page. It will be well worth your time. Well, this project was irresistible to me--as well as a whole lot of quilters; don't you love being part of this community?
First, I needed to decide just what I would make. Lots of people collect novelty prints and have lots of kid-friendly fabrics. I don't have that kind of stash. I have used those prints occasionally, but pretty much use them up on a project. I had just a few pieces, but they were the remnants of border edges, and the designs were cut off leaving partial pictures--like half a mermaid or half a car. I only had one piece of fabric that seemed to have possibilities. I rummaged in my fabrics and found a few pieces that were big enough for both backgrounds and backings. I decided that those along with some of my solids stash would work if I made my own little kid-attractive motifs. The result is this little set of quilts:
First some overall stats:
The solid fabrics are mostly Kona, with a few others thrown in that I don't have info about. I had just the right scraps of my favorite batting (Quilter's Dream Select in white) for all three quilts. (Don't you love when that happens?!) It has a wonderful drape, so it's great for little projects. I pieced with my Singer Featherweight and quilted with my Singer Treadle and a walking foot. I used a 2 3/8" binding folded in half.
So let's take a closer look at each one: They each deserve some description and individual stats even if they are tiny, don't they?
The little heart quilt was my first one:
I had been attracted to the Regatta quilt by Daniela of Block M Quilts that everyone has been making. My quilt is based on that one, but I substituted little hearts for the background squares. The little hearts are a tiny version of the heart pattern at Cluck Cluck Sew that you are all well-acquainted with. I didn't have gradients of colors that make the Regatta quilt sing, but I still had fun messing with the pattern. I don't think I have the Regatta quilt out of my system yet, but this was a fun way to scratch an itch.
Here are the stats:
Size: about 22 by 23 1/4 inches
Heart size: 2 by 2 inches, finished.
Threads: Superior Masterpiece in Granite for piecing and bobbin when quilting; Aurifil Mako 40 wt. cotton thread in 1148 (Light Jade), 1154 (Dusty Orange) and 2132 (Tarnished Gold) for top quilting.
Fun connection: The floral fabric was leftover from a baby quilt I made years ago.
I designed a fish on a scrap of graph paper for my second quilt:
When a blogger friend saw it, she thought it was the Kissy Fishy pattern from Lorna at Sew Fresh Quilts. So, of course I had to look up Lorna's pattern. They are similar, but that is by coincidence. I just sketched until I had something I could l make from two shades of orange I had. However, if you would like to make a similar fish, I highly recommend you check out Lorna's patterns because I'm sure her seaming scheme is superior to mine. (And I don't do patterns!)
Here are the stats:
Size: about 22 by 24 inches
Fish block size: 5 1/2 by 3 5/8 inches, finished.
Threads: Superior Masterpiece in Granite for piecing. Superior King Tut in Mint Julep for quilting
Fun connection: The striped fabric and some of the solids were leftover from the baby quilt I made for one of my grandsons.
Do you see that darker area where I pieced the back? I thought I did it "right" until I saw this photo. We'll call it a design element.
The design of the third quilt was determined by the one piece of novelty fabric I had with complete motifs (cars and trucks). I used every bit of it except two narrow strings I cut to even it up. I had to add substantially to it, so this quilt got four little car blocks, which I designed on graph paper and paper foundation pieced.
I used a suede print fabric for the sashing and borders to mimic roads.
My husband quilt advisor chose the binding, and when I started cutting it, I saw the name on the selvage:
 |
| Perfect |
This quilt can also be a mini play mat!
Here are the stats:
Size: about 22 by 23 3/4 inches
Car block size 6 3/4 by 3 1/2 inches finished; whole block 6 3/4 by 7 3/4 inches finished. "Roads" are 2 1/2 inches wide.
Threads: Superior masterpiece in granite for piecing; King Tut in Canaan (variegated gray) and Temple for quilting. (I meant to use the Temple in the top thread for the road lines, but forgot. Now I'm glad I used the gray because the white would have emphasized the wonkiness of the lines--wonkiness is a hallmark of my walking foot quilting and my state's roads, though, so it's all good.)
Fun connection: The gray and car print fabrics were in a baby quilt I made for a grand- nephew a few years ago. That quilt had (much bigger) pieced vehicles, too.
I thought I was all done, but then I read that some children who Amy makes dolls for also receive hospital gowns for their dolls as they sometimes need to spend time in hospitals. I just happen to have a hospital gown that I wore home from the ER after I broke my shoulder last year. Mari at Academic Quilter found a pattern for a doll-sized gown in just the right size at Read Creations. That made me happy because I do not have any dolls in that size and was trying to figure out how to make a gown by guessing the size. So I made three little gowns from the pattern. There is still plenty of gown left for more if they are needed. Those gowns from the hospital are voluminous! Especially the one I had since it was made fit around broken limbs (Not sure we ever figured out exactly how!)
 |
| My stand-in doll. The gown will look much cuter on one of Amy's dolls. |
This pattern was so fun!! I made three changes--I cut the seams of the shoulders and side seams about a quarter inch larger so I could do French seams, I used 1/2 seam binding instead of 1/4 inch because that's all I could find, and I extended the binding about 4 inches longer to make it easier to tie the thicker tails. I am so glad that something good could come from this gown.
If you have an opportunity, consider making a doll quilt or gown if you can. It's such a wonderful project for this month!
I'm linking this post up with the Spread the Love Linky party that Bernie is throwing beginning February 25. I'm also linking to crazy mom quilts for Finish it Up Friday, Confessions of a Fabric Addict for Can I Get a Whoop Whoop and with mmm! quilts at the end of the month (February 24, I think?) for DrEAMi (Drop Everything and Make It) because wow has this been DrEAMi!!
I hope you are having a wonderful month, DrEAMi or not!


