Ready? It's a rice bag heating pad! (I know, there are lots of them on the internet, but I'm excited about it anyway.) I have a muscle on top of my shoulder that gets tight when I sew due to an injury a few months ago and ongoing rehab. I have some bags, but they are smallish and too full of rice and don't stay in place easily, which leads to even tighter muscles. I wanted something I could wear around my neck, and I wanted it right now! I'll share how I made it in case you'd like a soothing cushy "shawl" to wear when you sew, too. This project was totally wing-it style. I didn't plan it or measure carefully. These kinds of projects are never neat for me--I just want them to get done. So, while I give you some dimensions, they are just general and not meant to be a tutorial.
Here goes:

I cut some cotton fabric about 30 inches by about 13 inches, folded it in half lengthwise right sides together (moot point in this case) and sewed the short ends. Then I turned it right side out, and drew pencil lines about 2 to 2 1/2 inches apart from the raw edge to the fold to make channels. These make the bag pliable and keep the rice from sliding to one end.
 |
| Close up of channels--you can see that one of my channels is wider than the others. No matter. |

I stitched a line 1/4 inch from the raw edge to close the channels. Then I turned down the edge a couple of times and sewed it again to made a finished hem. I had to shake the rice down to make sure I didn't catch grains in the seam.

And that was it for the bag.

I made an envelope-style pillow case for my bag. It's best to use the bag as a guide for the dimensions. I cut some print fabric about 60 inches by 8 inches--enough to fold around the bag lengthwise with several inches of overlap. I hemmed the short ends by folding them down about 3/8 inches twice and stitching them down. I folded the case around the bag lengthwise with right sides facing in to determine the overlap and then removed the bag and stitched the long seams 1/4 inch and then 1/2 inch from the edge. If this wasn't a DrEAMi project, I would have done French seams, but I was in a hurry to get that bag around my shoulders. I turned the case right side out and slipped in the rice bag. The case is roomy because I wanted the bag to flex easily.

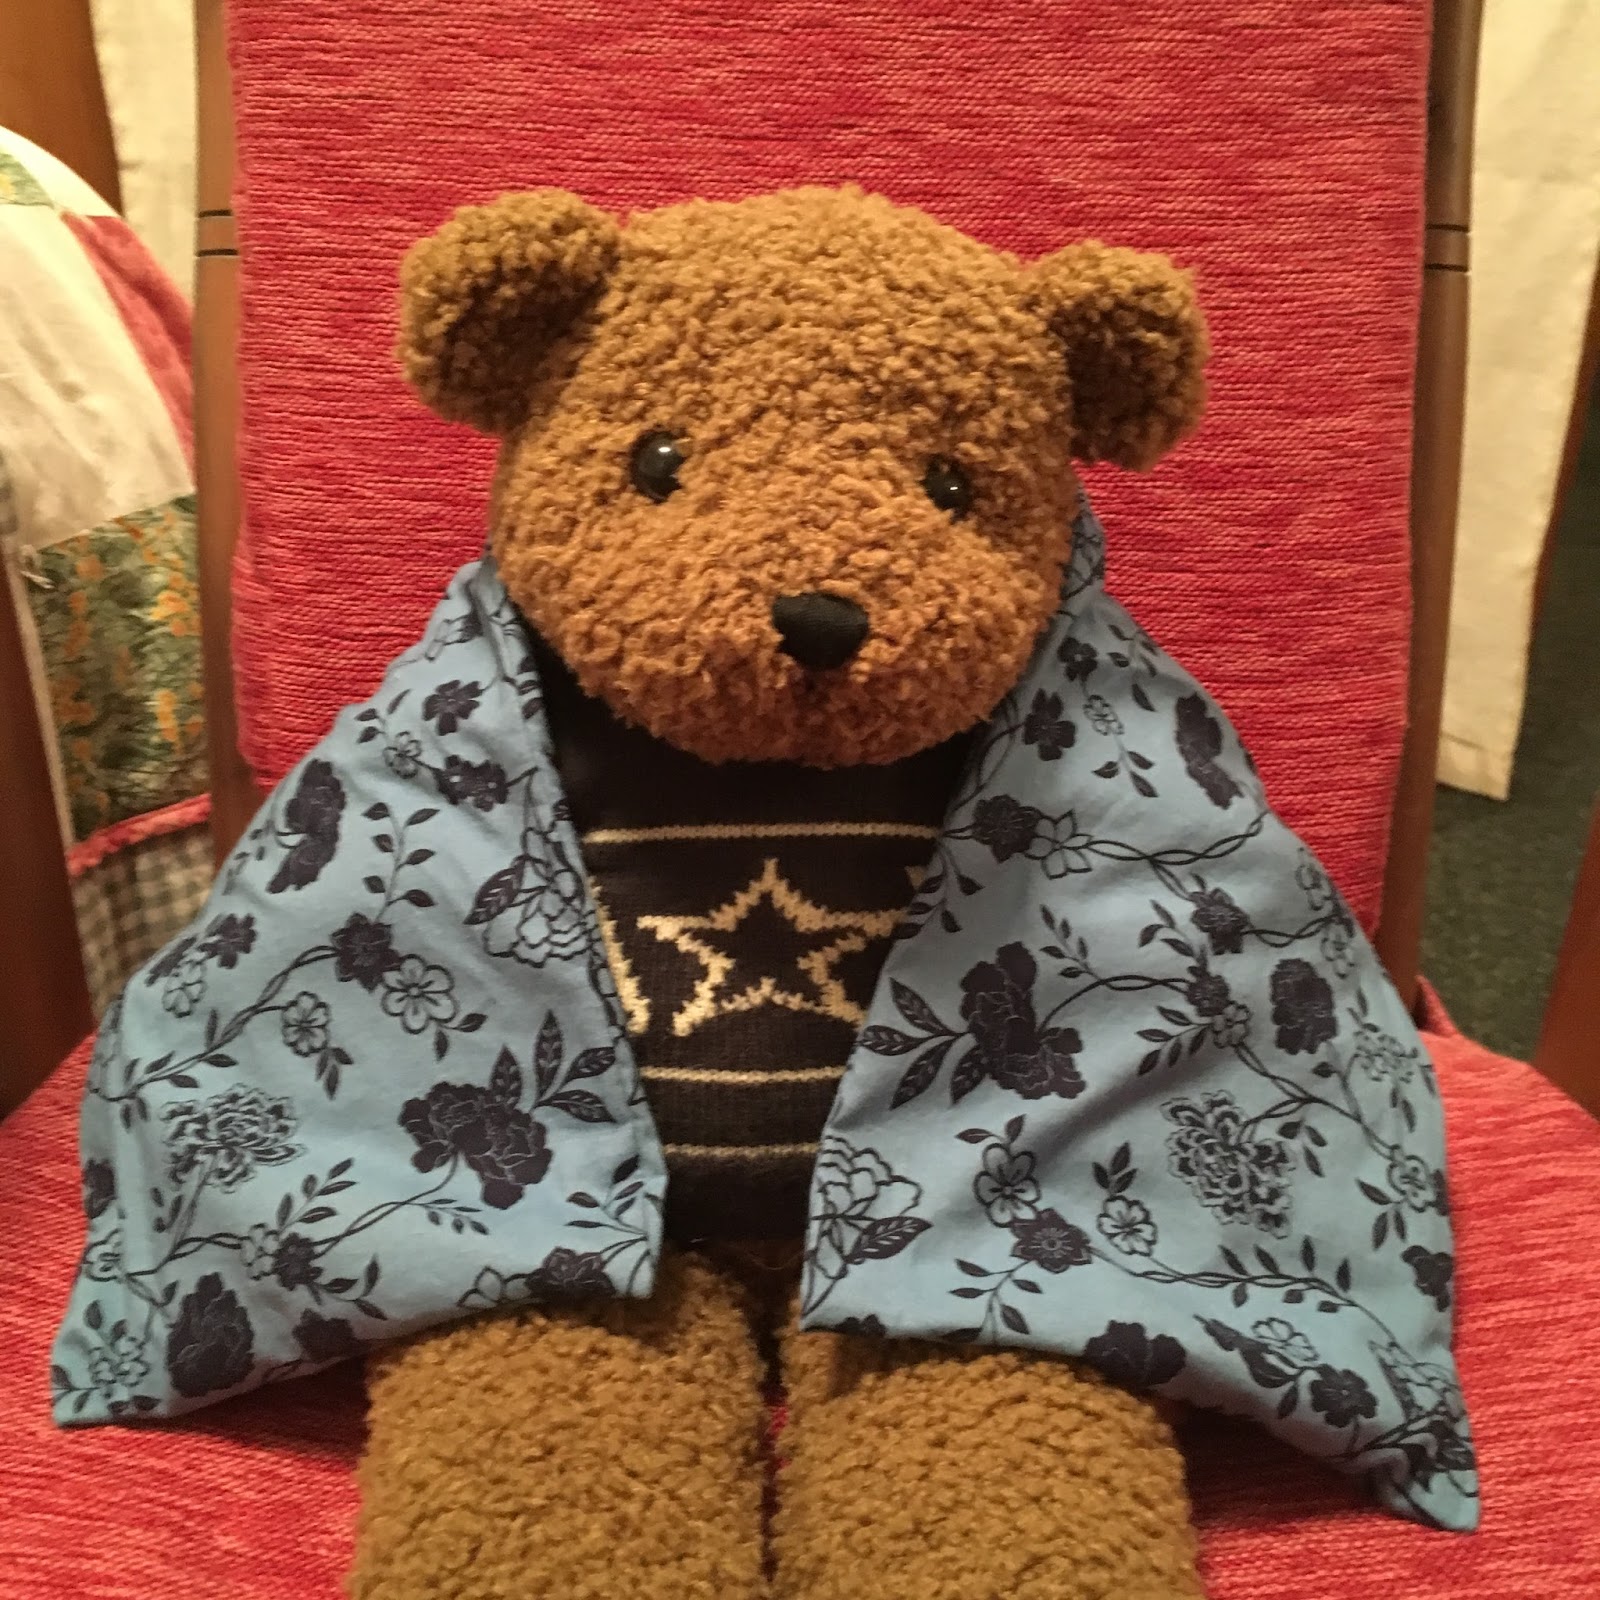
Isn't he a great model? I tried some close-up selfies, but my old-lady neck was just too scary to look at. Teddy's much cuter.
To heat this long bag, I stand it up in a circle (like a crown roast, I imagine--I've never made one) in the microwave, and heat it on high for about 30 seconds, then circle it again with the opposite side out for 30 more seconds. Times and heat with your microwave may vary. Then I drape it around my neck and I'm good to sew in cozy comfort. The weight and heat are delightful.
I'm linking up with DrEAMi and hoping you have some squirrely projects of your own to share. Stay cozy, my friends.
8 comments:
This is fanTABulous Janine! The PERFECT DrEAMi! I could use one right now, and uh huh, you're thinking what the heck isn't she in Florida still? Yup, but I actually have long pants on today and flats, not flipflops AND a jacket...definitely getting soft when 60 feels cold. I have a daughter that would dearly love one of these--terrific idea to make the channels! I gave her my big one my MIL made with no channels. Thanks for sharing how you did this, and thank you so much for linking up for my first linky party! ;-)
What a great tutorial! And I was even wondering toward the end how you heat it, and you told us! I am bookmarking this to make myself one for the occasional assorted aches - I love that you can customize it size-wise.
I would call that a DrEAMi and I think we've all been there one time or another. Nice easy tutorial.
I've noticed that about me neck over the last few years too. LOL!! Teddy is adorable and what a quick project.
Great little project! I'm like that, too, when I make these sorts of useful items. Get it done fairly quickly and into use.
Thank you for the directions. I've been using an old sock full of rice for my heating pad thingie, and yours is much nicer. Although the sock is good for small aches and pains like an earache...
I used to have something like this - don't know where it went- but remember how great it was for shoulder pain.
Just noticed that I didn't say to see on those pencil lines to make the channels, but you figured that out, didn't you? (I hope) This is why I'm not a tutorial or pattern writer. It's hard!! : )
Ah, gotta love autocorrect: sew on those lines, not see. Sheesh!
Post a Comment